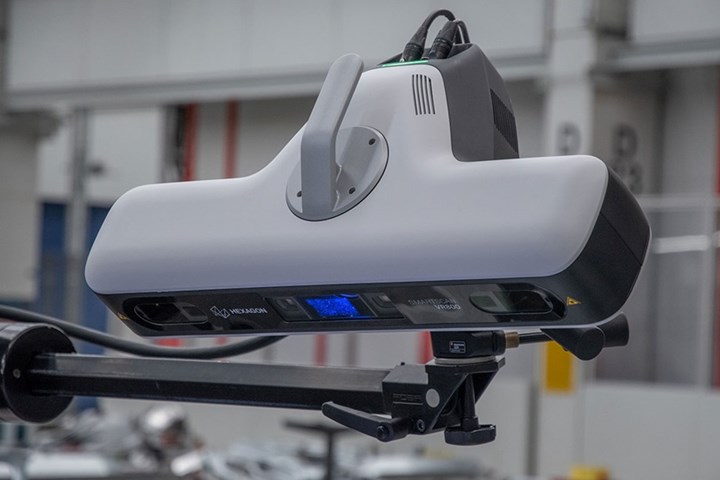
Hexagon Scanner Enables Flexible Inspection of Complex Parts
Hexagon delivers the SmartScan VR800 structured light scanner, providing the flexibility for 3D part inspection via a software-adjustable variable resolution functionality.
Share


Hexagon’s Manufacturing Intelligence Division has launched its SmartScan VR800 high-productivity structured light scanner. Built on a completely reengineered platform, the optical 3D scanner is equipped with a motorized zoom lens that enables users to adjust data resolution and measurement volume entirely through software settings. This improves the productivity of quality inspection, and further improves workflows with more efficient post-scanning alignment processes, including the ability to combine scans of different resolutions within a single project.
The technology’s noncontact, high-speed structured light scanning (also known as white light scanning) is well suited for complex or free-form shapes that are difficult to measure with tactile methods. Moreover, the VR800’s combination of four 20-MP cameras in a dual stereo setup (for wider range of measurement volume) and optical zoom-enabled projection (for varied volumes and resolutions within each volume) enables it to take accurate measurements at different zooms/depth of field in a single pass.
Three new software functions — Smart Resolution, Smart Zoom and Smart Snap — enable the user to customize inspection resolution and measurement volume with no mechanical alterations to the system. This means data-heavy, high-resolution scans can be focused on the feature-rich areas that matter most, while other areas can be covered more efficiently by larger and/or lower resolution scans.
Additionally, the system’s integrated controller unit provides fast pre-processing of scan data on the device, ensuring the data heading into the metrology software is cleaner and easier to use. A custom-built carbon fiber frame ensures thermal stability and allows for longer intervals between calibrations.
The VR800’s Smart Snap function in particular delivers optimized workflow efficiency, even on parts where everything needs to be scanned at higher resolutions. This mode uses the larger base camera pair to take an LED flash-supported alignment image at the same time as the smaller base camera pair performs a full high-resolution 3D scan. Each scan section is now paired with an alignment image, for more efficient knitting together of the scan data.
As with other structured light scanners from Hexagon’s range, the VR800 can be paired with a turntable or turn-tilt unit to enable semi-automated measurement workflows. The VR800 is also ready for integration within robot- or cobot-based, fully automated inspection systems.
Related Content
-
How to Evaluate Measurement Uncertainty
Manufacturing and measurement are closely coupled. An important consideration for the use of measurement results is the associated measurement uncertainty. This article describes common metrology terms and provides an example uncertainty analysis.
-
How to Choose the Correct Fixed-Body Plug Gaging Solution
The two types of fixed-body plug gages are both accurate, fast and easy to use. Consider these factors when selecting one for your gaging application.
-
Choosing the Correct Gage Type for Groove Inspection
Grooves play a critical functional role for seal rings and retainer rings, so good gaging practices are a must.


.jpg;maxWidth=300;quality=90)


