Quality Data Management Software Improves Process Reliability
Metabowerke GmbH’s tracking of data was inefficient and cumbersome. Zeiss’s PiWeb quality data management software reduced machine setup time by half and increased process reliability.
Share


When a characteristic does not meet tolerance requirements, companies like Metabowerke GmbH of Nürtingen, Germany, must react quickly to troubleshoot the production problem. That reaction could be delayed if someone is using outdated inspection plans, or if there is an error in transferring manually captured measuring and inspection data. However, by investing in PiWeb sbs quality data management software from Zeiss Industrial Metrology, which has U.S. headquarters in Maple Grove, Minnesota, the company was able to see measurement outliers immediately.
Prior to the introduction of PiWeb last December, Metabo’s quality data management systems were connected via cables, which limited employees’ mobility and broke frequently, hindering data transfers. This technology was unreliable, and the measurement plan had to be processed in one attempt. Captured data could not be saved in between measurements, limiting uptime. Plus, once employees had taken the measurements, they had to change software to a statistics solution and search for the corresponding data set.
These issues are no longer a concern because the PiWeb software enables measuring and inspection data to be transferred directly to the system via a wireless connection. According to Quality Coordinator Achim Schmid, it was important that PiWeb works with the manual measuring tools Metabo uses at its four measuring stations. “I really like that you could easily integrate manual measuring tools,” he says.
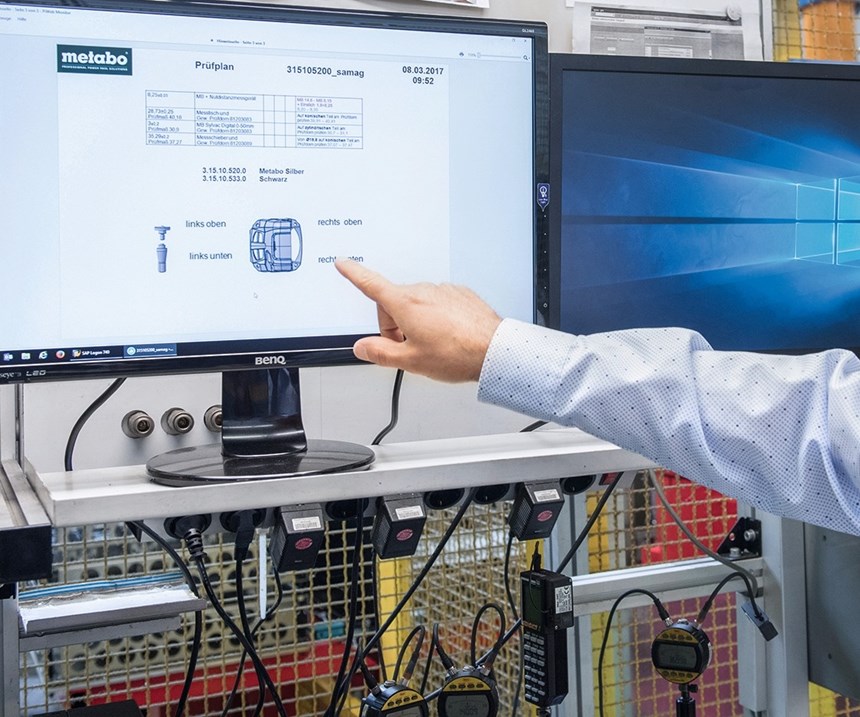
Now, when employees are taking measurements, they open the corresponding measurement plan in the PiWeb software and transfer the data from the manual measuring tool to the system with the push of a button. Values that are within the stipulated tolerance are marked with a green dot, and a red dot indicates that quality requirements have not been met. Employees can also view measurement values for the previous 500 measurements by using report templates and determine if an out-of-tolerance value is an outlier or part of a trend. Mr. Schmid says this information enables him and his team to quickly steer production processes when needed. “I would definitely say that we can react more quickly to process fluctuations,” he says.
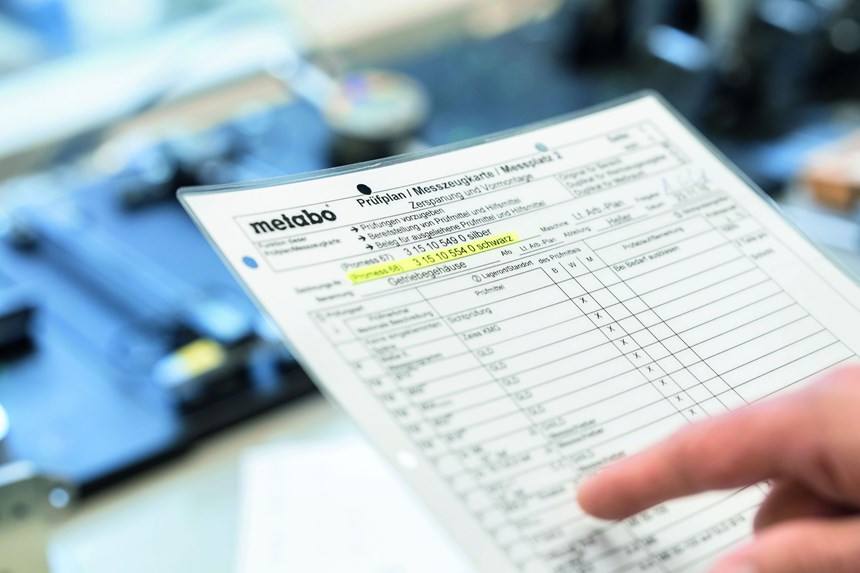
Another benefit of the software is that it enables the creation of detailed measurement plans. Mr. Schmid uses this feature to link measurement plans to current drawings of the workpieces. When a design drawing changes, the link no longer works and employees do not waste time performing a measurement using an outdated drawing. Individual characteristics also can be visually linked to the workpiece position. Team members can see how to correctly position the workpiece and identify mandatory characteristics, resulting in fewer errors. In the past, plans and drawings had to be printed, and updated versions were not always available. Now, Mr. Schmid says that when he updates a measurement plan in the software, it is immediately available for other employees. According to head of manufacturing Uwe Forschner, “Having up-to-date data is a significant step forward.”
The ease with which these plans can be updated not only increases process reliability, it also reduces the workload for inspection engineers. Mr. Schmid says it previously took an hour to change a measurement plan, but that time has been reduced to just 15 minutes with the new software, leaving him more time to identify and eliminate potential quality problems.
Metabo credits PiWeb with improving machine uptime by reducing machine tool setup time in a pilot program. Operators used to spend at least an hour setting up a machine to handle a new workpiece and ensuring process reliability. Mr. Schmid and Mr. Forschner worked to optimize this process by analyzing data from the software. Eventually, they were able to define four relevant characteristics on a specific workpiece that are sufficient for process approval. “Not surprisingly, this takes a lot less time than if you need to measure all 50 potential characteristics,” Mr. Schmid says. Now, operators can set up the machine in less than half an hour. The two men are working on applying this system to other machines. According to Mr. Forschner, this will also reduce the number of components that need to be stored in the company’s warehouse, reducing inventory costs. “The shorter setup times are already a big step towards the efficient manufacture of very small batch sizes, which would definitely increase our competitiveness,” he explains.
The smaller the batch sizes, the greater the need for increased production reliability at optimum speed, Mr. Schmid says. Before working with PiWeb, Metabo employees had to collect the necessary data for controlling their processes from different systems, which was time-consuming. “Now all our data are stored centrally,” he says. “This is a huge relief for everyone.” He also says that the layout of reports from the software is easier to read compared to the old solution, enabling workers to identify problems faster.
Even though the company has already seen success with PiWeb, Mr. Schmid has plans to further leverage the software. “What we want now is to make the knowledge that comes from many years of experience available to all employees,” he says. He plans to take advantage of a feature that allows instructions to be added to individual templates, specifying which parameters must be changed on the production machine in the event the tolerances for a particular characteristic have been exceeded. Mr. Schmid says that this would be a big step forward in knowledge management and he is already looking forward to it.
Related Content
5 Stages of a Closed-Loop CNC Machining Cell
Controlling variability in a closed-loop manufacturing process requires inspection data collected before, during and immediately after machining — and a means to act on that data in real time. Here’s one system that accomplishes this.
Read MoreShop Quotes Smarter, Works Harder with Machine Monitoring
Temco first installed MT-LINKi to optimize quoting. Now, the software helps the shop optimize its machines — and machine purchases.
Read MoreCan Connecting ERP to Machine Tool Monitoring Address the Workforce Challenge?
It can if RFID tags are added. Here is how this startup sees a local Internet of Things aiding CNC machine shops.
Read MoreReinventing a Precision Shop With a Data-Driven Mindset
When this machine shop lost 90% of its business within three months, a reinvention was in order. Here's how it survived after quickly falling on hard times.
Read MoreRead Next
Registration Now Open for the Precision Machining Technology Show (PMTS) 2025
The precision machining industry’s premier event returns to Cleveland, OH, April 1-3.
Read MoreBuilding Out a Foundation for Student Machinists
Autodesk and Haas have teamed up to produce an introductory course for students that covers the basics of CAD, CAM and CNC while providing them with a portfolio part.
Read MoreSetting Up the Building Blocks for a Digital Factory
Woodward Inc. spent over a year developing an API to connect machines to its digital factory. Caron Engineering’s MiConnect has cut most of this process while also granting the shop greater access to machine information.
Read More




.jpg;maxWidth=300;quality=90)

