Inspection System Helps Company Meet Short Lead Times
Even after buying new fast machine tools, inspection remained a bottleneck for BCI. A digital video inspection system from Starrett is increasing this company’s inspection throughput and helping it get parts to its customer on time.
Share


Hwacheon Machinery America, Inc.
Featured Content
View More
Autodesk, Inc.
Featured Content
View More

ECi Software Solutions, Inc.
Featured Content
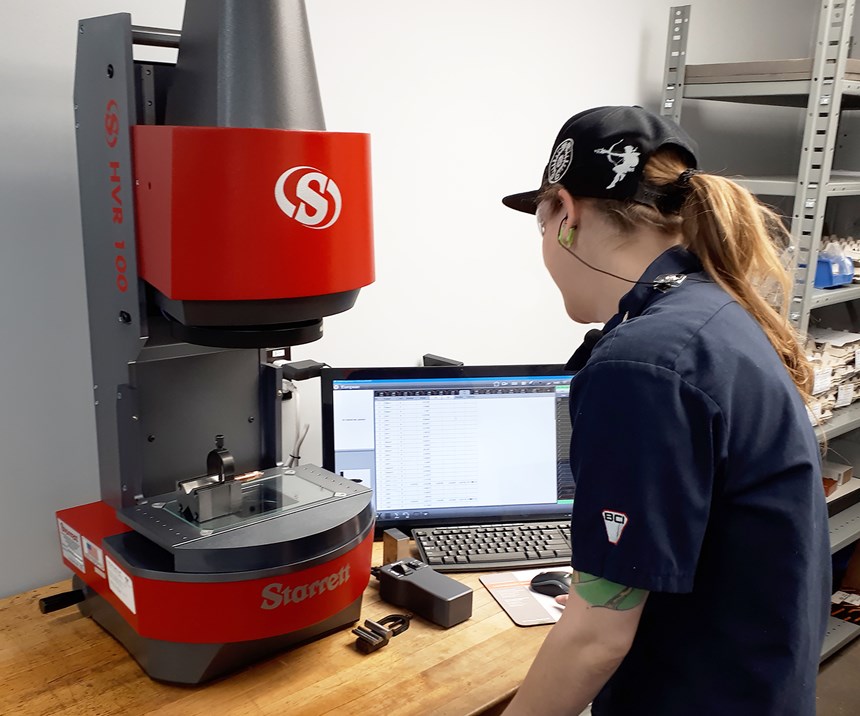
View MoreOftentimes, reducing machining time alone is not enough to meet challenging lead times. Shops may need to look at other processes to ensure the parts get to the customer on time. B.C. Instruments (BCI), a company based in Schomberg, Ontario, purchased new machines to keep up with a customer’s expedited lead times. But it quickly realized that even with the ability to produce complete parts in less than two minutes, it would not meet lead times if it had to spend three or four minutes inspecting each part. A new inspection system from The L.S. Starrett Co. (Athol, Massachusetts) has increased inspection throughput by 75% to help the company hit its customers’ lead times and perform additional inspection tasks.
Bruno Conzelmann established B.C. Instruments in his garage in 1971. Since then, the company has grown to include 150 employees working in six plants across Ontario and a plant in India. Despite this growth, BCI is still family-owned, with Mr. Conzelmann’s son Roger currently serving as the company’s president. “We’re a fast-growing company that takes pride in retaining and taking care of our employees, without a single layoff,” says Sean Smith, plant manager for small-diameter turning.
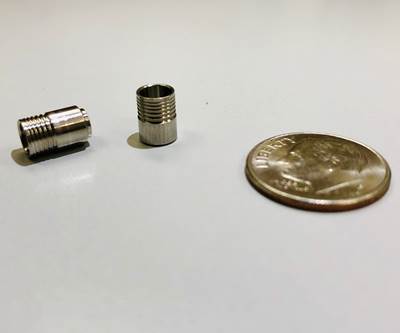
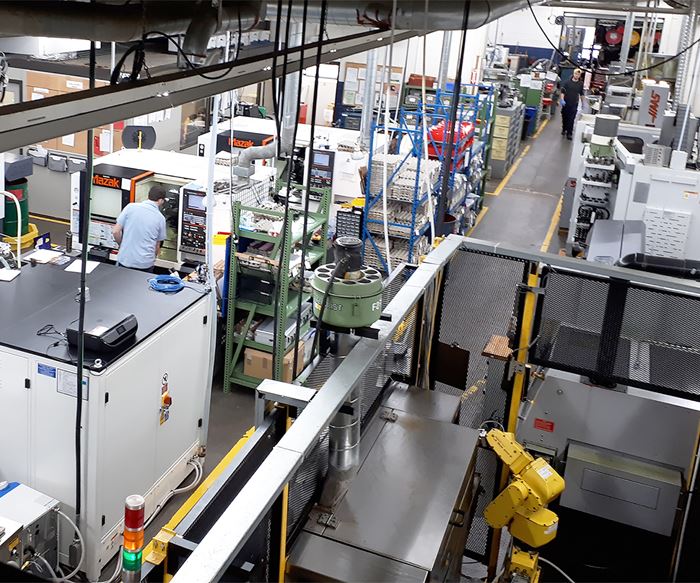
BCI produces precision parts for a range of industries, including aerospace, medical, power generation, nuclear and electronics. The company also produces parts for the injection molding industry, including families of injection molding nozzles. These nozzles can have different thread sizes, OD profiles and internal features. They also have tight tolerances, within ±10 microns, Mr. Smith says. He also notes that BCI is the sole supplier of nozzle tips for one customer that has very short lead times. “Demand is high, and our customer is trying to grow by 20 or 30%,” he says. The expedited work, combined with a stocking agreement BCI must maintain, puts the company in a challenging situation. To keep up with the work, it purchased two new Citizen lathes, which can manufacture complete parts in two minutes.
Mr. Smith and quality insurance inspector Brent Cordy knew that the facility was going to need a more efficient inspection system to keep up with the parts coming off the new machines. The company performs 100% inspection on these parts, and Mr. Cordy estimates that inspectors spent three to five minutes measuring each part using profile projectors. Facing a bottleneck in inspection, the two launched a continuous improvement project to find a faster system.
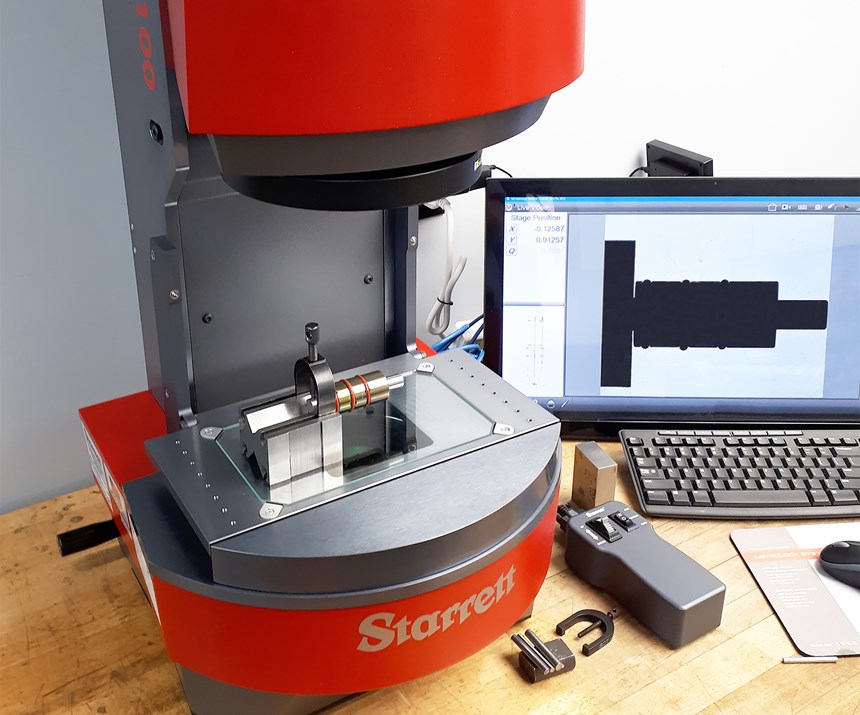
This project led them to the Starrett booth at the 2017 CMTS trade show, where they saw the HVR100-Flip digital video inspection system. They were so impressed that they purchased the unit that had been on display one day after leaving. “I didn’t let it go back over the border,” Mr. Smith jokes.
Increasing Throughput
Mr. Smith and Mr. Cordy say the Flip system has several features that have enabled BCI to increase its inspection throughput:
- Fast program creation. According to Mr. Cordy, he and the other BCI inspectors were able to quickly learn the new system. Users can create inspection programs for new parts by tracing them on the system’s touch screen and choosing the correct measurements, angles, distances and line straightness. “It’s pretty intuitive,” he says. Employees were able to create their own programs in less than a week, and they can now create two or three programs per day.
- Automatic part recognition. Once the program is created, Mr. Cordy says it only takes a few seconds for the system to inspect a part. Automatic part recognition establishes and recognizes the OD feature of the part, pulls up the correct program and inspects the part automatically.
- Multiple part inspection. The system also has the capability to inspect multiple parts at the same time. Mr. Smith says BCI can fit as many as 10 injection molding nozzles on the Flip system at once.
System Flexibility
BCI also benefits from the Flip system’s versatility:
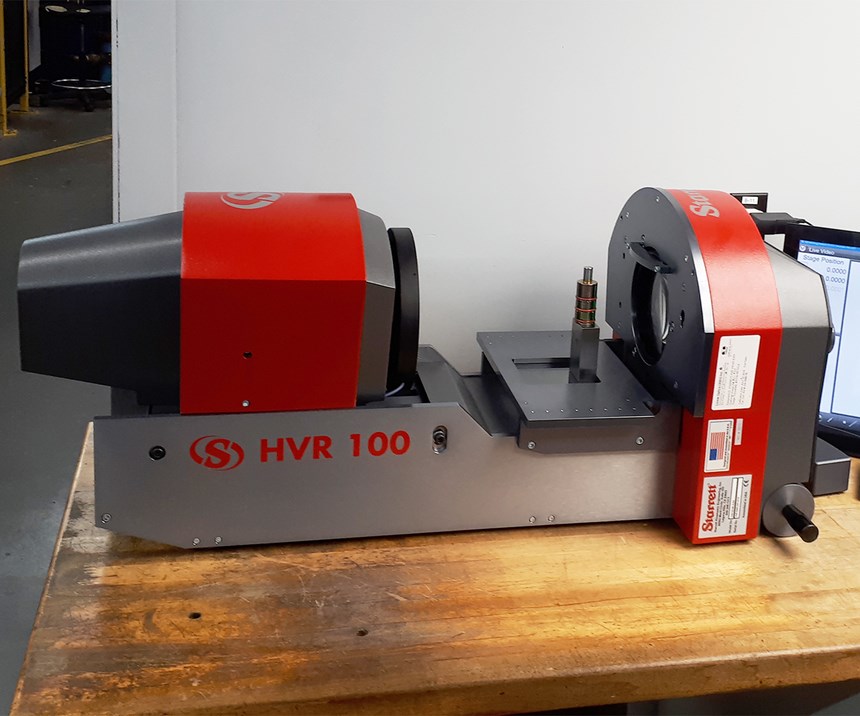
- Configuration. The Starrett Flip can be configured horizontally or vertically, and the company has its system on a table that enables users to switch the orientation based on part size and fixturing. “Depending on the application and what we’re checking, sometimes it’s easier to do it vertically or horizontally,” Mr. Smith says.
- Custom thread measurement. The system can also measure threads, which BCI finds especially helpful since the nozzles have external threads that must be checked. The software can also be configured to measure custom thread sizes, which the company uses for parts that are plated after machining.
- Environment. The Flip is suited to industrial environments and can be used on the shop floor. BCI has its system located at the front of its shop floor so that a range of employees can access it for different types of inspection. Inspectors can check finished parts, and machinists can also use it to cross-check parts for tool wear and to help calculate offsets.
Far-Reaching Benefits
Overall, Mr. Smith and Mr. Cordy say the Flip system has exceeded their expectations. They estimate that it has increased inspection throughput by 75%. The system is so efficient that the shop is finding other uses for it beyond the nozzles, such as incoming inspections. “We measure a lot of our subcontractors’ work,” Mr. Smith says. “This system has allowed us to get through this type of sample inspection check.”
The system is also freeing up employees to take on other work. BCI has 30 “tech support” employees who are qualified in, but not dedicated to, inspection. Since implementing the Starrett Flip system, the company does not need to task these employees with inspections as frequently. Instead, they can work on setting up machines or other continuous improvement projects. BCI, like many other shops, is continually seeking skilled workers, so using its employees as efficiently as possible is important.
About the Author
Julia Hider
Julia Hider is an associate editor at Production Machining magazine. This article originally appeared on productionmachining.com.
Related Content
The Many Ways of Measuring Thickness
While it may seem to be a straightforward check, there are many approaches to measuring thickness that are determined by the requirements of the part.
Read MoreTurning Fixed-Body Plug Gages Inside Out
Fixed-body mechanical plug gages provide fast, high-performance measurement for tight-tolerance holes.
Read More6 Machine Shop Essentials to Stay Competitive
If you want to streamline production and be competitive in the industry, you will need far more than a standard three-axis CNC mill or two-axis CNC lathe and a few measuring tools.
Read MoreHow to Calibrate Gages and Certify Calibration Programs
Tips for establishing and maintaining a regular gage calibration program.
Read MoreRead Next
Vision Systems: One Shop's Competitive Edge for Measurement and Inspection
Even for high-volume machine shops like Alpha Grainger, every part is critical. When the bottleneck to inspect a vast number of parts resulted in lost business, the company built, then invested in, digital vision systems to gain a competitive advantage.
Read MoreRegistration Now Open for the Precision Machining Technology Show (PMTS) 2025
The precision machining industry’s premier event returns to Cleveland, OH, April 1-3.
Read MoreBuilding Out a Foundation for Student Machinists
Autodesk and Haas have teamed up to produce an introductory course for students that covers the basics of CAD, CAM and CNC while providing them with a portfolio part.
Read More



.png;maxWidth=150)


