Share


Takumi USA
Featured Content
View More
ECi Software Solutions, Inc.
Featured Content
View More


Hwacheon Machinery America, Inc.
Featured Content
View More

Autodesk, Inc.
Featured Content
View More“One, two, three, four, five, six…”
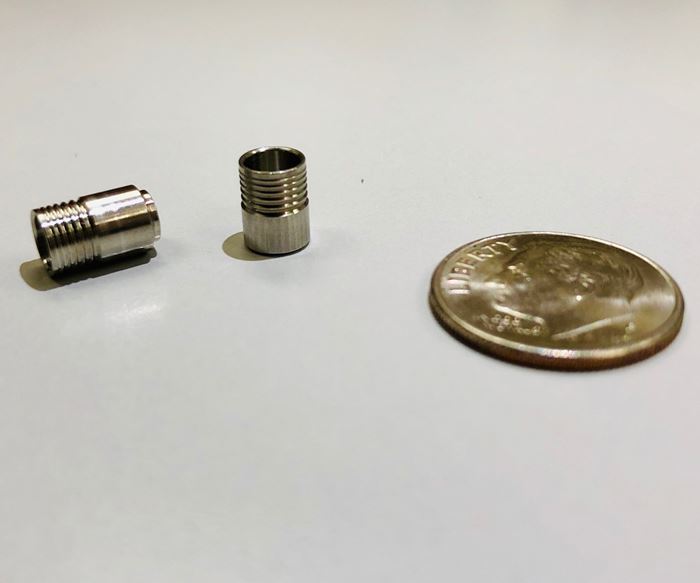
Jake Grainger is counting features on an H13 stainless steel part with a diameter of less than half a dime.
“…16, 17, 18, 19... You get the idea,” he says.
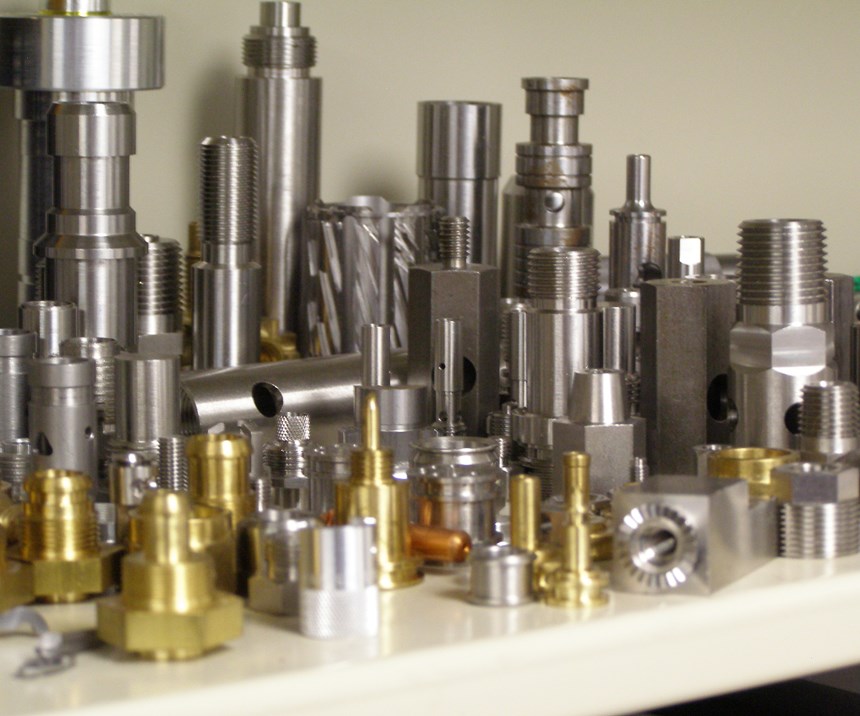
We’re sitting in a small conference room inside Mr. Grainger’s 90,000-square-foot machine shop located in Franklin, Massachusetts. The shop is called Alpha Grainger—not to be confused with the industrial supplies company that sells everything from mats to motors—and he is counting the ribs and angles and curves located on just one of the millions of small turned parts his company produces annually.
His final tally of features hits more than 20 on this single part—an ultra-high-volume hydraulic automotive component—and they all pose a serious measurement and inspection challenge. “Our customer wants to know what these radiuses are,” Mr. Grainger says, “and the width of the top and the angles of the curves, all of which have tolerances of less than a thousandth of an inch.”
One could spend the better part of an hour measuring this single part, he notes, and Alpha Grainger makes millions of them per year.
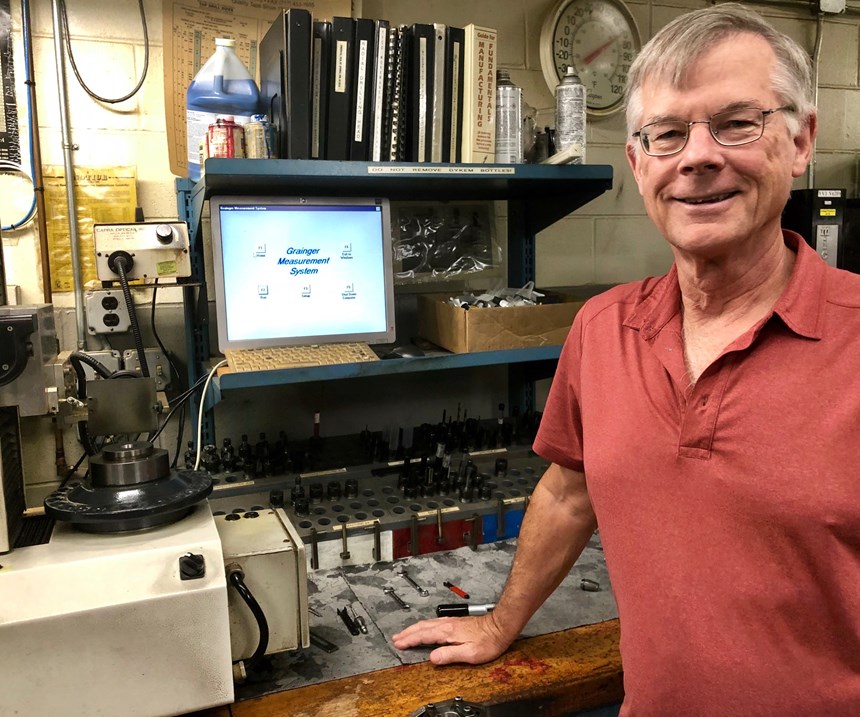
Fortunately for Mr. Grainger and his shop’s 157 employees, he had the foresight to develop his own inspection solution back in the early 1990s. He was one of the first engineers to develop a video-based metrology system—a machine that uses high-magnification video to simplify the inspection and measurement of small part features. The machines feature an X-Y stage that positions parts in front of a camera mounted in front of it. Turn the camera on, and an image of the part appears on a computer monitor that displays basic measurement features. The shop still uses several of Mr. Grainger’s original machines today, some of which still run, somewhat delicately, on the Windows 93 operating system.
“Our problem was that we had parts with a lot of dimensions, and I needed a way to capture those dimensions in one frame,” he says. Business was being lost to foreign competition at a time when the shop was using conventional measuring instruments, such as micrometers and optical comparators with overlays, which are basic tools that are time-consuming to use and vulnerable to human error. “I wanted to put a part in front of the camera, take it off, and be done,” Mr. Grainger says. “I was trying to take the labor out of measuring the part while dramatically increasing the reliability and frequency of our inspection.”
Because of massive labor cost disparities with foreign competition, Mr. Grainger realized that the only solution was to possess capabilities that his competitors didn’t have. His original video-based system was an integral part of that solution, but it had limitations. The device had a small field of view that required the operator to make constant adjustments. Plus, the resolution was not fine enough for the nearly microscopic measurements necessary for the small turned parts that Alpha Grainger produced. A search began for a better solution, something that would provide increased speed, accuracy, reliability as well as automation when trying to measure part features sized to ten-thousandths of an inch.
“I'd looked around forever for something that would solve all those problems,” he says. What Mr. Grainger found—digital vision systems made by Starrett—did just that.
Swipe Left for New Features
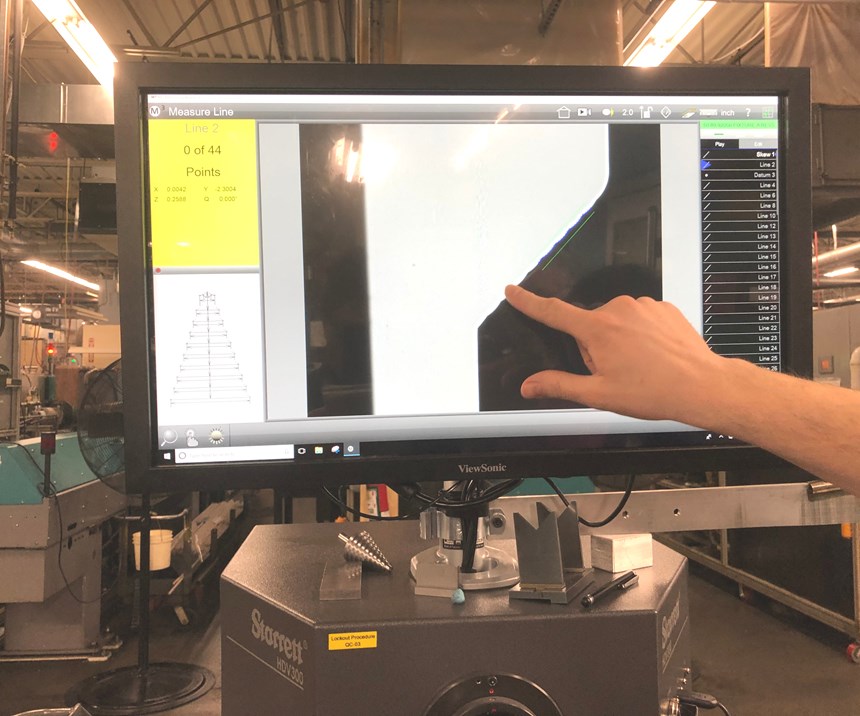
Today, Alpha Grainger has 14 Starrett digital vision inspection systems scattered throughout its facility, more than half of which are horizontal models. These devices, such as the HDV400, incorporate features of a horizontal optical comparator, but use a high-resolution digital video camera with changeable lenses mounted in front of a backlit X-Y stage onto which parts are mounted. These high-magnification lenses display micron-level-resolution images of part features on an interactive touchscreen monitor. Starrett utilizes MetLogix M3 Metrology software that powers the system, and the monitor enables operators to define datums and drag a finger around the contours of part features to be measured. These features are compared to the part’s DXF CAD file, “interacting” with the video image of the actual part geometry displayed on-screen.
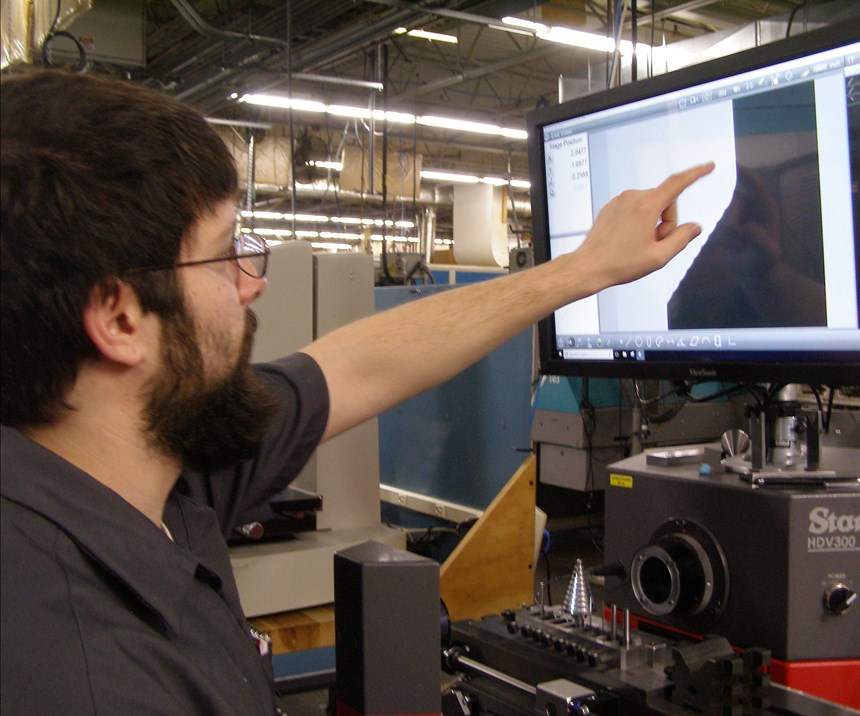
Alpha Grainger mechanical engineer Matt Ricci walks me through a typical inspection operation. While a number of machine operators use the new vision systems to make quick measurements on the fly, Mr. Ricci, who has been with the company for roughly eight months, has become the go-to engineer there for performing detailed inspections.
Standing in front of the HDV300 located just 5 feet from the Index mutli-spindle CNC machine making the part we are inspecting, he begins by using the DFX file to define the features that will be measured, then assigns values to each dimension. He places the part on the X-Y stage using a universal pin fixture and then, using the touchscreen monitor, begins defining repeatable datums such as the corner features of the part. As he traces his finger along the part’s feature displayed on-screen, he explains the process: “Give it a line there, define the line there. Give it a skew to calibrate the device so that if the part were tilted, I can still measure the same part,” he says. “So, I'll define a skew there, and now my datum is right on that corner. From here on out, everywhere I measure, the device is going to go to that spot and look for the line in that location.”
Having finished this process, he can now line up several of the same parts for semi-automated inspection. When the inspection is complete for each part, the system moves the next part in place and automatically repeats the inspection process using the same calibration settings.
On-screen, a yellow line along one of features indicates that the part is close to the boundary of its defined tolerance. When this warning appears, the first step is to verify that the reading is not a false negative. “When we find a bad dimension, we need to do something about it,” Mr. Grainger says. “We have a regular procedure. First, we make sure the measurement is correct. You'll get oil that can lay in a groove, or there can be a burr on an edge. We really magnify it. Get rid of that burr, and it will correct itself. If that’s not the problem, then we isolate everything and tell the machine operator what we found.”
Indications on-screen show that this feature is within one ten-thousandths-inch of the limit, but still within tolerance.
The Case Against ROI
Mr. Grainger estimates that inspections like this take place throughout the shop every 20 to 25 minutes. Many of the parts his company produces are made from H13 stainless steel, which limits the life of cutting tools to 150 to 200 parts, he says. The inevitability of cutting tool wear, or thermal expansion of machine structural components requires a constant requalifying process and feedback, something that, without the new vision systems, would have to take place on an optical comparator. “That could take five or six minutes per part to measure manually,” he says, “and this is a simple part. Line the crosshairs up here, zero the readout, then go to another datum, re-zero, and on and on. We have parts with grooves and internal radiuses at the bottom seals and corner radiuses. Customers want to know all about that.”
You might assume that Mr. Grainger would be shouting from rooftops about the return on investment the new vision systems have offered. But you would be wise not to ask him about it. And there is a reason why.
“If someone says ROI, clearly that person doesn't know what he or she is talking about,” Mr. Grainger says, matter-of-factly. “And I'm not saying I'm right. It’s just that the value of these new systems is so obvious. I've measured hundreds of thousands of parts, and I know that with the phenomenal increase in productivity and reliability, I don't need to discuss ROI. The payoff of these machines is that you’re not going to make a whole bunch of junk that you're going to throw out. The payoff is that you're going to be able to make thousands and thousands of measurements instantly that you weren't making before.”
But there is another reason that defining ROI for measurement and inspection technology is a murky trade: How do you measure the number of rejected parts that you did not have because the system caught it? How do you prove a negative?
Mr. Grainger holds up another small but more complex automotive part—a critical part that Alpha Grainger produces by the millions for the hydraulic industry. Customers will reject one of these parts if any dimension is out of tolerance. “There's no such thing as critical and non-critical dimensions for this part,” Mr. Grainger says. “You can say, ‘Well that chamfer is only a couple thousandths of an inch oversized, and you told me it was non-critical.’ And they’ll say ‘Yes, but it's out of tolerance. Take them back.’ If I had to pay for a product recall because a few parts of the millions I’d made were defective, I would just hand over the keys of the building and say, ‘You own it now.’”
Inventing, Then Investing
For Alpha Grainger, efforts inventing video-based measurement and inspection systems and later investing in newer Starrett vision systems were made to reshape the company. In the early 2000s, when much of Alpha Grainger’s business was lost to overseas competitors, there was a struggle to stay profitable. Before the vision systems, developing the tooling and measurement procedures to inspect a part that has 150 dimensions could take several weeks, with another full day added to make the inspection. Building the first video-based inspection system and then investing in Starrett’s systems starting in 2015 were part of an effort Mr. Grainger made to gain a necessary competitive edge.
“I realized that, hey, if we can figure out a way to dramatically reduce the inspection time we'll be able to offer a much lower cost to develop and run a job,” he says. “It’s that simple. By being a little bit better than the rest of them, we'll be able to have an undefeatable advantage over other companies.”
Related Content
Help Operators Understand Sizing Adjustments
Even when CNCs are equipped with automatic post-process gaging systems, there are always a few important adjustments that must be done manually. Don’t take operators understanding these adjustments for granted.
Read MoreBallbar Testing Benefits Low-Volume Manufacturing
Thanks to ballbar testing with a Renishaw QC20-W, the Autodesk Technology Centers now have more confidence in their machine tools.
Read MoreThe Link Between CNC Process Control and Powertrain Warranties
Ever since inventing the touch-trigger probe in 1972, Sir David McMurtry and his company Renishaw have been focused on achieving process control over its own manufacturing operations. That journey has had sweeping consequences for manufacturing at large.
Read MoreParts and Programs: Setup for Success
Tips for program and work setups that can simplify adjustments and troubleshooting.
Read MoreRead Next
5 Rules of Thumb for Buying CNC Machine Tools
Use these tips to carefully plan your machine tool purchases and to avoid regretting your decision later.
Read MoreSetting Up the Building Blocks for a Digital Factory
Woodward Inc. spent over a year developing an API to connect machines to its digital factory. Caron Engineering’s MiConnect has cut most of this process while also granting the shop greater access to machine information.
Read MoreBuilding Out a Foundation for Student Machinists
Autodesk and Haas have teamed up to produce an introductory course for students that covers the basics of CAD, CAM and CNC while providing them with a portfolio part.
Read More




.png;maxWidth=150)


.jpg;maxWidth=300;quality=90)


