Share


Could the gaging that is used to check a part at the machine tool, right on the production floor, also be the key to reducing the cost of cutting tools on that machine? In theory, yes. By immediately and precisely measuring the machined part, identifying the difference from previous part measurements, and applying a tool offset to compensate for this difference, a part-gaging process could detect and adapt to changes in tool wear in real time. It could also detect the point at which the tool has reached its wear limit.
In reality, though, a system such as this is liable to be impractical. In production, the much more achievable (and therefore more common) approach is to use customized hard gages to provide a quick and simple pass/fail confirmation of the part, with tool replacement occurring according to an unrelated count of how many workpieces have been run. To avoid any risk of scrapping parts, that predetermined count is always set to be conservative, meaning some of the potential use of cutting tools is routinely lost as those tools are changed out before they truly reach the end of their lives.
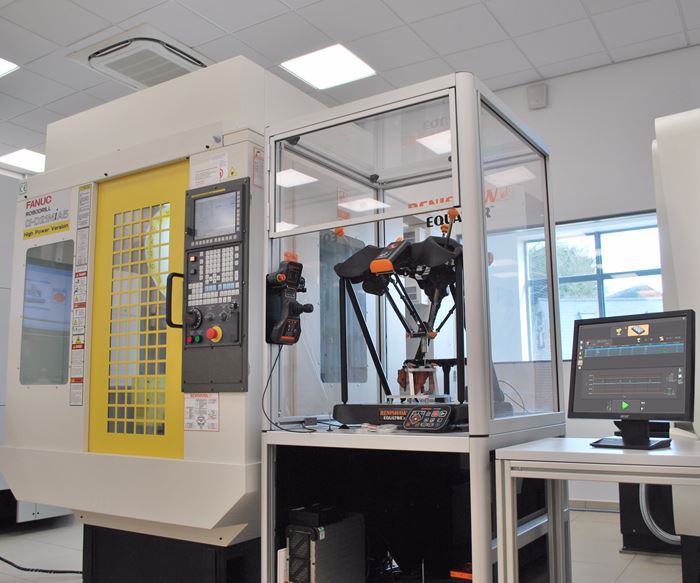
Now, a software development from Renishaw promises to help shops realize that link between gaging and tool cost. The company’s Intelligent Process Control (IPC) software for its Equator gaging system establishes an easy connection from gaging back to the CNC machine tool. A potential result is savings in an area where many shops are not even conscious of losing money: the area of premature tool change-out.
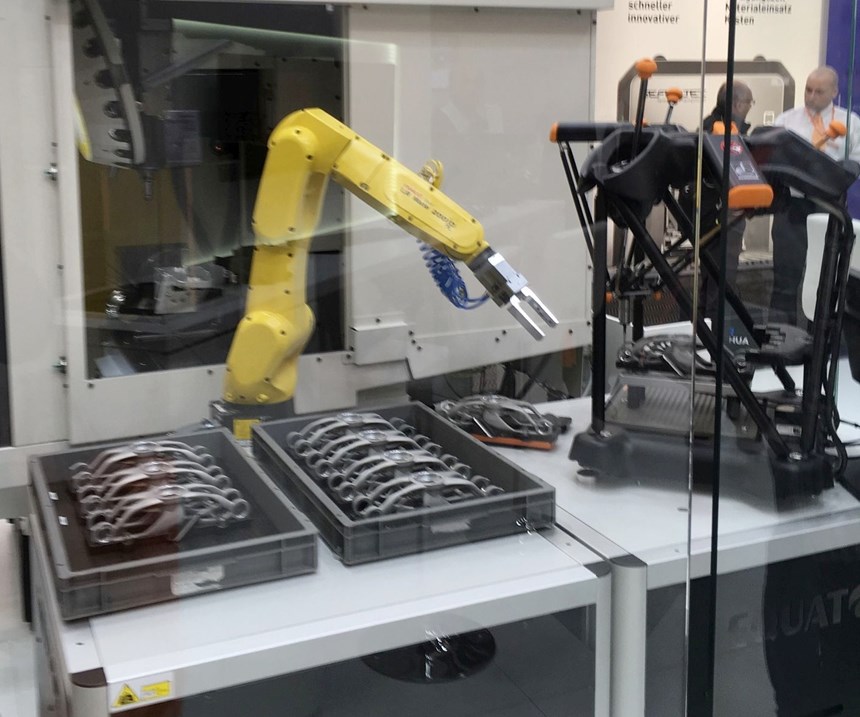
The Equator gage, which Renishaw launched seven years ago, is part of the solution. The hardware by itself is a significant departure from traditional shopfloor gaging. The small, shop-rugged programmable measurement unit is programmed like a CMM (it uses a contact scanning probe), but it fulfills the role of a gage by using a comparison method to ensure accurate gaging even across a changing temperature range. Rapid measurement cycles with the system enable quick confirmation of various part features right beside the machine tool, and the programmability of these cycles means that hard gaging is no longer necessary. Different gaging programs on the Equator can be kept ready for operators to call up to perform shopfloor checks on various recurring parts.
Given that this device is capturing data in production—that is, capturing more information than just the yes/no of hard gaging—couldn’t that data also be used to do more? The new IPC software is a response to this question, offering a means to use the part measurements to control the process in real time.
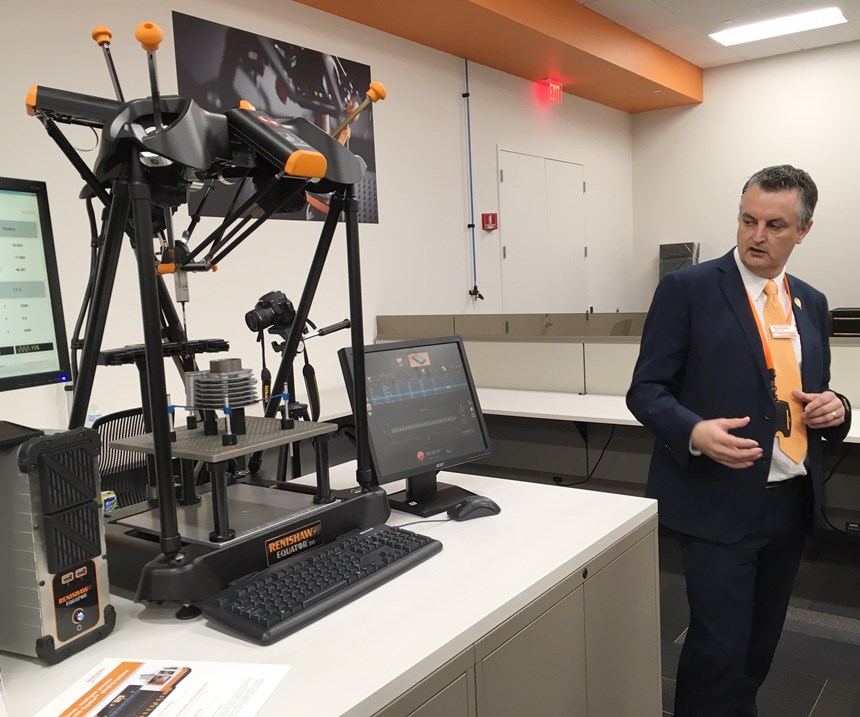
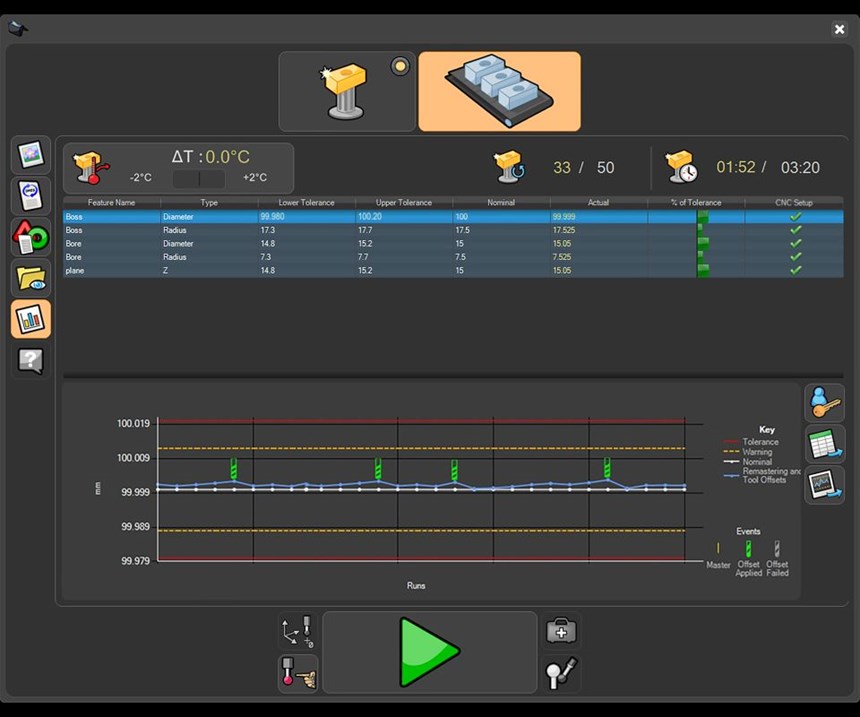
Renishaw’s Ben Spokes, marketing manager for Equator, demonstrated a machining process using the IPC system during a recent open house event at the company’s new U.S. headquarters in West Dundee, Illinois. As any given measured feature for a production part shifts beyond the nominal value for that feature because of minute and gradual tool wear, the extent of the measured departure can be used to automatically calculate and apply a compensating tool offset at the machine tool’s CNC. The software interfaces with the CNC and enables the user to program this kind of closed-loop control. The software could initiate a tool-offset change in response to a single departure in the measured dimension, or for greater process stability, the user could set the software to respond in this way to a departure within a running average for this measurement.
Meanwhile, the software also tracks the accumulated total of all the offsets it has made for a given tool, Mr. Spokes says. Ultimately, this is where the tool cost savings is realized. Users can define a total offset limit for a given tool, defining the extent of that tool’s maximum acceptable wear. The system can then be set to trigger an automatic change-out of the tool at that point. Thus, in place of an unvarying standard such as “change tools after every 20 pieces,” the system can be programmed to change tools when the tool has truly worn out. This might occur after 20 or 21 pieces for one tool, but the next might tool run for 25. The additional life is the resource that most shops in most production processes would otherwise lose. Gaging on the shop floor usually aims to avoid the danger of running parts after the process has drifted out of spec, but now here is a different, additional way to think about gaging saving cost in the process. That is, the gaging can also be applied to avoid the subtler cost of failing to use the consumables to the fullest extent of their value.
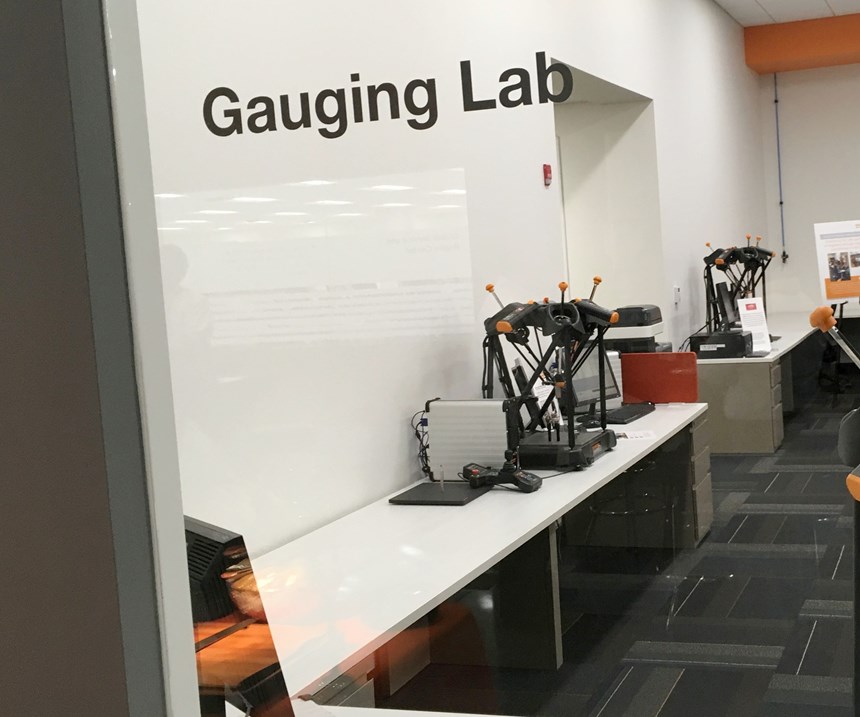
A final note on this different way of thinking: The Equator gage all by itself requires a different mindset and a different set of expectations as to the role of gaging and how it might perform on the shop floor. Manufacturers tend to assume that programmable measuring devices run in a separate CMM room while only simple manual devices belong at the bench near the machine. But now here is a small, precise, programmable device that belongs on that very same bench near the machine. I mentioned I saw the new software at the company’s new U.S. facility, and among other product lines that this facility supports is additive manufacturing—a capability novel enough that it merits a dedicated Additive Manufacturing Solutions Center within the facility to allow customers to explore it. And as it happens, the company recognized that something similar is valuable for its Equator gage. A 2,500-square-foot Gauging Lab is dedicated just to this product, enabling potential users to experiment with it and begin to prove out their own programs for this very different way of understanding shopfloor gaging.
Related Content
Process Control — Leveraging Machine Shop Connectivity in Real Time
Renishaw Central, the company’s new end-to-end process control software, offers a new methodology for producing families of parts through actionable data.
Read MoreFour Questions (& Answers) About Data-Driven Process Improvement at CNC Job Shops
How can shops can make informed decisions using data-driven feedback to improve shopfloor efficiency and profitability? And how will these technologies differ between high- and low-volume production?
Read MoreEasy-To-Install Data Acquisition System for Real-Time Monitoring Across Brands
cnSEE from All World Machinery Supply combines easy installation and monitoring across multiple machines.
Read MoreGive Job Shop Digitalization a Customer Focus
Implementing the integrated digital technologies and automation that enhance the customer's experience should be a priority for job shops and contract manufacturers.
Read MoreRead Next
Building Out a Foundation for Student Machinists
Autodesk and Haas have teamed up to produce an introductory course for students that covers the basics of CAD, CAM and CNC while providing them with a portfolio part.
Read More5 Rules of Thumb for Buying CNC Machine Tools
Use these tips to carefully plan your machine tool purchases and to avoid regretting your decision later.
Read MoreSetting Up the Building Blocks for a Digital Factory
Woodward Inc. spent over a year developing an API to connect machines to its digital factory. Caron Engineering’s MiConnect has cut most of this process while also granting the shop greater access to machine information.
Read More




.jpg;maxWidth=300;quality=90)


