The Benefits of a Bigger CMM
The elimination of backlogs, increased throughput, and the ability to quote larger, more complex parts are just a few of the benefits this company has realized by upgrading its inspection technology.
Share


Every gear manufacturing company welcomes growth, but it comes with challenges. They include investing in new equipment to meet capacity, hiring skilled operators if necessary and even finding space to locate the machine.
For Triumph Gear Systems-Macomb, these challenges were easily overcome when it needed a bigger coordinate measuring machine (CMM) to handle the larger parts it was beginning to make. The increased revenue from the new work justified the investment, the PC-DMIS software was user friendly for beginners and popular enough for there to be plenty of programmers available on the market. In addition, the purchase came at a time when the company was tripling its workspace, so space wasn't a problem.
Triumph discovered a host of benefits, including saving 20-24 hours per assembly of the large helicopter component the CMM was primarily purchased to measure, the ability to take on new work with more complex assemblies than before, and the elimination of a backlog in its inspection department.
Measuring Growth
Over the last 40 years, the Michigan-based company has built a solid reputation for its expertise in machining precision gears for the aerospace industry. In the past decade it has expanded the business to include much larger components such as housings and subassemblies. Today, Triumph Gear produces approximately 28,800 parts annually.
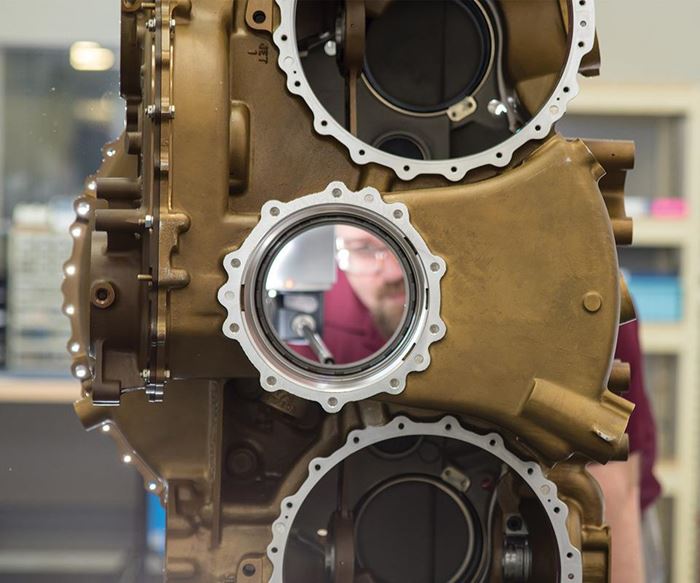
To facilitate recent growth, the company set about searching for a CMM that would meet all of its criteria, beginning with a much larger workspace and high-precision measurement capabilities for increasingly complex parts. The measurement solution also needed to be versatile so that it could verify a range of parts. While the existing CMM was capable of inspecting Triumph’s newest component—a large gear casing for the transmission of a helicopter rotor system—it clearly needed more travel in the X-axis of the machine. Historically, to measure the part, the operator would lay it on one side, measure it, flip it 180 degrees about the Y axis, then measure the other side, causing a quality control bottleneck. In an attempt to speed things up, the inspection team began duplicating programs and part setup, actually causing further delays in output while their CNC machines sat idle.
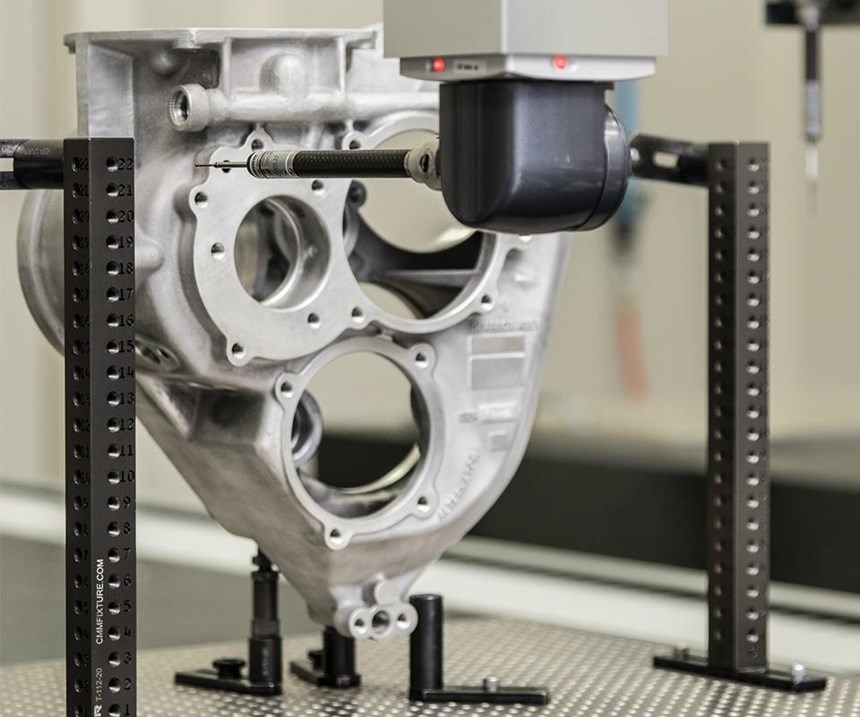
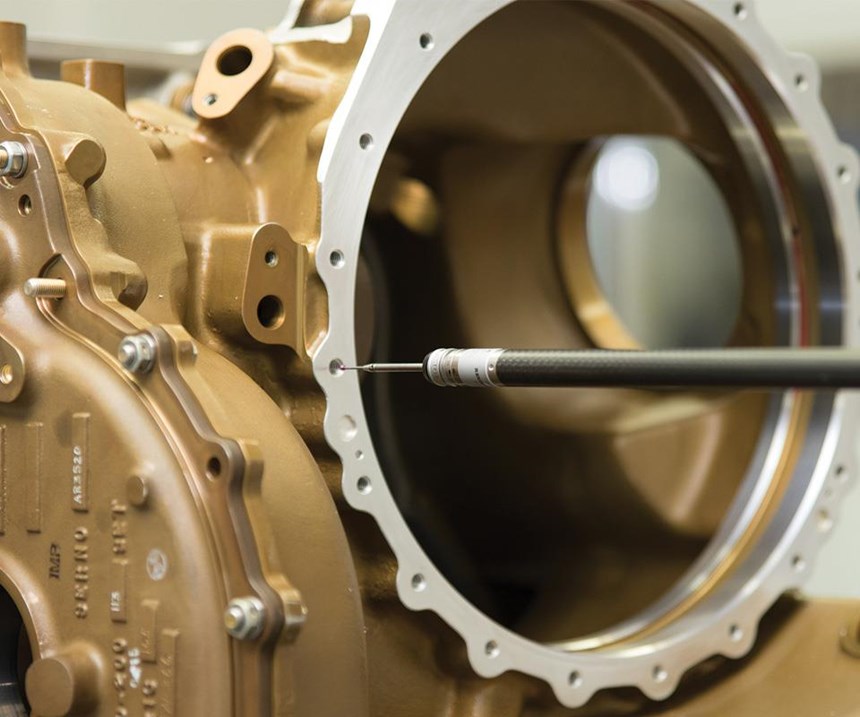
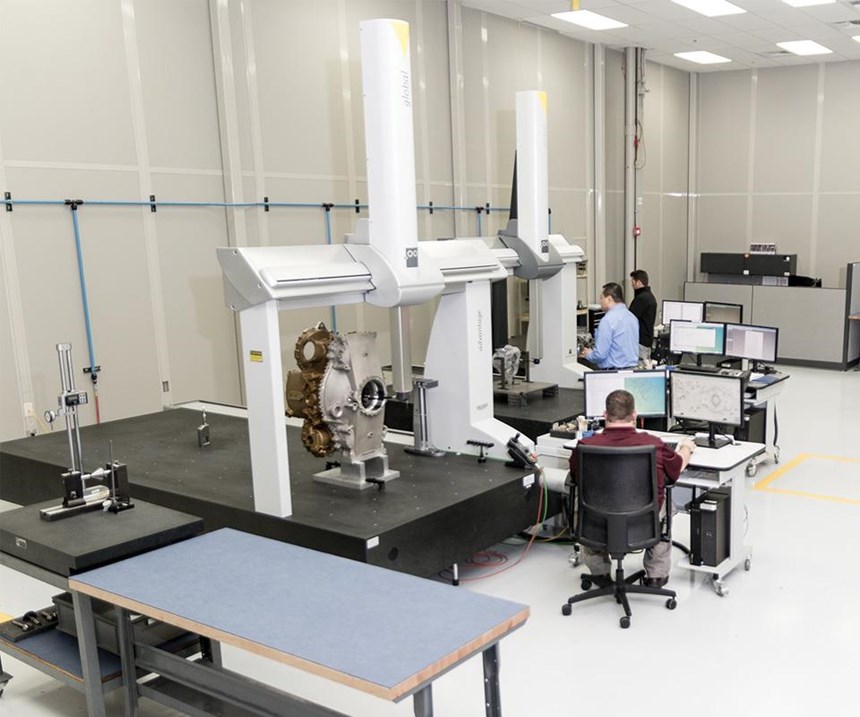
The solution came in the form of a Global Advantage 15.30.10 from Hexagon Manufacturing Intelligence of North Kingstown, Rhode Island. This advanced CMM package met Triumph’s requirements for accuracy and speed, and it included features such as thermal compensation, advanced software and a high-performance analog scanning probe. This specific model has the highest-performing drives of the entire product line, with top acceleration to 4.3 meters per second squared, for maximum measuring throughput.
Size Matters
Robert Farr is the CMM manager at Triumph Gear. He points out that Triumph Gear’s need for accuracy and repeatability is essential to its success, notably because several parts have tight tolerance requirements of 0.001 inch. The complexity of the housings the company manufactures calls for more precise alignments due to the size increase of the gears and axles involved. He says that, of the roughly 500 different part numbers the company currently produces, about one third require quality inspection.
With less than 1 percent of parts returned to the metrology department, manufacturing intelligence is paving the way for precision manufacturing. “In order for us to maintain credibility with our customers, we need accuracy and repeatability. Efficiency is important, but not if it jeopardizes our quality,” Mr. Farr says. “We are very confident in the accuracy of our programs and our overall ability to inspect parts.”
Once the machine was installed, he began modifying the company’s existing program, reducing the handling time by roughly four hours per assembly. The helicopter gear casing no longer needed to be rotated, enabling faster setups, runtimes and change control times. The extra runtime also enabled the metrology department to keep up with internal demands. Overall, Triumph saved roughly 20-24 hours per assembly of its helicopter component with the new implementation.
No longer at maximum capacity, the company is able to take on additional work and more complex assemblies. “The new CMM and probe changers allow us to use multiple probe build-ups while maintaining efficient runtimes,” Mr. Farr says. “We originally purchased the CMM to make inspection of the gear casing more efficient, but it also allowed us to run multiple jobs that required the larger inspection capability. In the past we had to schedule our larger jobs back-to-back. Today, we have doubled the overall capacity to inspect parts, which shows in our throughput.”
Operational Efficiency
Triumph relies on inspection software to handle the growing complexity of its parts. Mr. Farr feels that PC-DMIS inspection software is ideal for the first-time programmer to learn on, but also offers high-end capabilities at a novice level.
“One of the benefits of the software is the information you have with the cursor position,” he says. “When editing inspection routines, the system tracks your current workplane, pre-hit/retract, probe tip angle and alignment. In other software programs I have used, you had to manually recall without inserting code into your program, which sometimes caused mistakes.”
Running operations more efficiently is important to the Triumph team. By incorporating PC-DMIS scripting to input serial number, shop number and lot number into one interface, Mr. Farr is able to create a repeatable process for a more fluid user experience. When it comes to hiring and training new recruits, the software’s user-friendly interface enables him to hire someone new to the industry and train them to effectively use it. Alternatively, locating a user who is proficient in PC-DMIS software is not difficult, as the software is so widely known in the metrology field.
Another example involves the company’s efforts to alleviate bottlenecks in its supply chain. Triumph uses graphical reporting to show the location of component alignments that may be hard to duplicate on a machine. For example, the company provides a report to show a bore package at a best low fit situation. In addition, the report also states where the current bushings are located, enabling the supplier to machine the bushings back to the best fit bore package. Providing inspection reports and visual information enables the supplier to produce parts faster and without errors.
The company also creates special reports for its customers based on their engineering specifications. In some instances, a customer will want to see the location of surface features in relation to the rest of the part to ensure accuracy, while others may only request 3D coordinate point data. Whatever the case, the team has the essential tools for generating customized and comprehensive PC-DMIS inspection reports.
Looking to the Future
Triumph Gear is strategically positioning itself for continued growth. The company’s recent expansion allows for the accommodation of new machines and equipment in all departments, from milling to metrology. Following suit, Mr. Farr has mapped a five-year plan for the quality control operations that includes hiring a full-time programmer and two more inspectors so the company can increase its machine capacity by 80 percent. As for future technology acquisitions, he will be on the lookout for smart solutions that help enhance quality, reduce internal scrap and rework and increase inspection throughput.
“If you’ve got a good quality department, they can reach out to engineering and manufacturing and catch mistakes as they are happening,” Mr. Farr says. “Quality control, if you do it right, can have a major impact on the overall business.”
Related Content
How to Choose the Correct Measuring Tool for Any Application
There are many options to choose from when deciding on a dimensional measurement tool. Consider these application-based factors when selecting a measurement solution.
Read MoreTurning Fixed-Body Plug Gages Inside Out
Fixed-body mechanical plug gages provide fast, high-performance measurement for tight-tolerance holes.
Read MoreParts and Programs: Setup for Success
Tips for program and work setups that can simplify adjustments and troubleshooting.
Read MoreProcess Control — Leveraging Machine Shop Connectivity in Real Time
Renishaw Central, the company’s new end-to-end process control software, offers a new methodology for producing families of parts through actionable data.
Read MoreRead Next
Registration Now Open for the Precision Machining Technology Show (PMTS) 2025
The precision machining industry’s premier event returns to Cleveland, OH, April 1-3.
Read MoreSetting Up the Building Blocks for a Digital Factory
Woodward Inc. spent over a year developing an API to connect machines to its digital factory. Caron Engineering’s MiConnect has cut most of this process while also granting the shop greater access to machine information.
Read MoreBuilding Out a Foundation for Student Machinists
Autodesk and Haas have teamed up to produce an introductory course for students that covers the basics of CAD, CAM and CNC while providing them with a portfolio part.
Read More


