Real-World Precision Is an Active Pursuit
As with any choice of technologies, choosing between active and passive CMM scanning requires thinking beyond specification sheets and staying abreast of what’s on the market.
Share


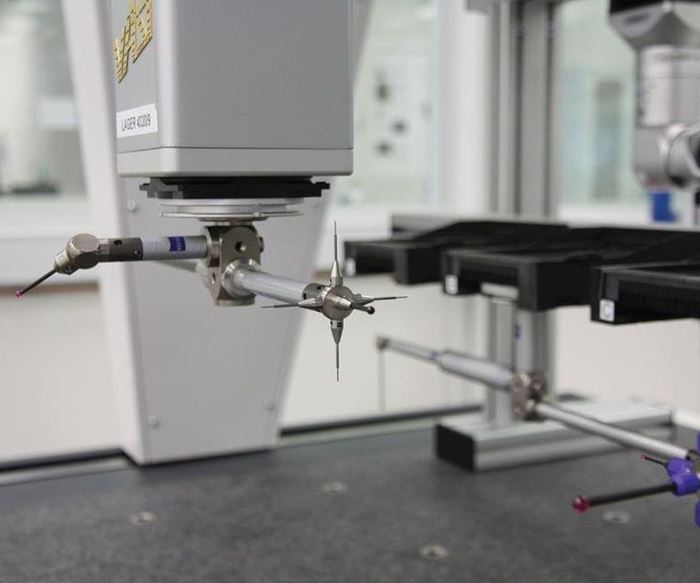
Two different CMM scanning heads from the same manufacturer have the same level of measurement uncertainty, but only one offers the ability to articulate on its own. The other requires stylus extensions—sometimes lengthy, complex extensions that take time and effort to properly configure—in order to ensure the probe tip approaches the work at a normal (perpendicular) vector. If purchasing decisions could be based solely on capability, why would anyone choose the non-articulating head, even if the application doesn’t involve exceptionally complex geometry or multiple approach angles?
Because the quality lab isn’t the real world, whatever the quoted level of uncertainty, and because there’s good reason why some scanners are designed to leave stylus positioning mostly to the CMM’s own axes. So says Kevin Donovan, senior technical sales engineer with Carl Zeiss. Known as active scanning systems, these models’ complex internals prevent the head itself from articulating like their passive cousins, which rely on a static system of springs and displacement sensors to gather part data. Active scanning, he explains, adds finesse to the proceedings in a different way: by maintaining an even, user-specified level of force on the workpiece surface throughout the scanning routine, even absent a nominal. Given this capability, active scanners rely less on compensating software algorithms.
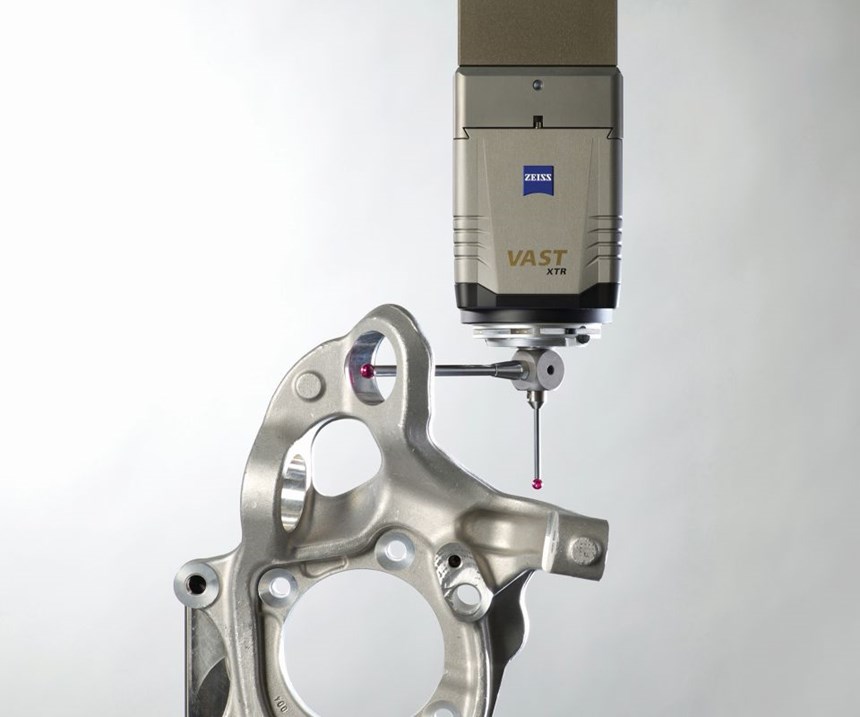
That was a key consideration for Tube Hollows, the subject of our December-issue cover story and a specialist in tubular components near Portland, Maine. With new customers demanding more robust data that can be interpreted in more ways, active scanning was deemed the best option, says Andrew March, technical sales engineer. Another key consideration in purchasing Zeiss’s Vast XT Gold was the ability to compensate for the force of gravity on the stylus extensions required to measure complex features deep inside of long tubes.
Yet, as is the case with so much manufacturing technology, active and passive scanning defy simplistic, black-and-white comparisons. After all, Zeiss offers a model that slightly blurs the lines: the XTR Gold. “Slightly” because this is most certainly an active scanning head, but it does feature an integrated swivel joint that enables turning the stylus mount in 15-degree increments. That’s limited compared to the range of motion of a typical passive head, and it wouldn’t help much with Tube Hollows’ long bores (although, if it offered capability to articulate in Z, “That would be a different story,” Mr. March says). That said, the advantages for other kinds of work are obvious: additional flexibility on complex, multi-featured geometry without sacrificing the advantages of active scanning.
In examining this technology and writing this story, it occurred to me that regardless of the end game and regardless of the technology involved, the pursuit of any manufacturing goal should be an active one. That is, one characterized by close attention to what’s available on the market and a willingness to look beyond specifications when evaluating capabilities.
Related Content
-
How to Choose the Correct Fixed-Body Plug Gaging Solution
The two types of fixed-body plug gages are both accurate, fast and easy to use. Consider these factors when selecting one for your gaging application.
-
How to Evaluate Measurement Uncertainty
Manufacturing and measurement are closely coupled. An important consideration for the use of measurement results is the associated measurement uncertainty. This article describes common metrology terms and provides an example uncertainty analysis.
-
The Many Ways of Measuring Thickness
While it may seem to be a straightforward check, there are many approaches to measuring thickness that are determined by the requirements of the part.


.png;maxWidth=300;quality=90)


