MMS Looks Back: 1940s - How They Rolled During World War II
What has changed in roller bearing manufacturing? The Timken Company and Modern Machine Shop reunite to explore the topic we covered 75 years ago. This story is part of our 90th anniversary series.
Share


Here is a statement few would contest: U.S. manufacturing capability was vital to the Allied victory in World War II. Judging by the ads and articles in issues of Modern Machine Shop through the early 1940s, that same point was just as apparent while the war raged. Indeed, by 1943, manufacturers were already anticipating the coming victory. An ad from South Bend Lathe Works in that year invited readers to place advance orders for machines that would be manufactured for them just as soon as the needs of the War Department no longer dictated production.
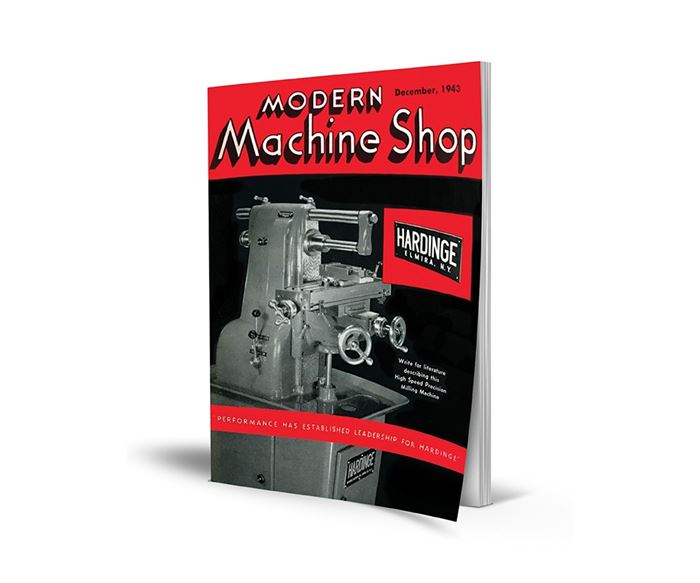
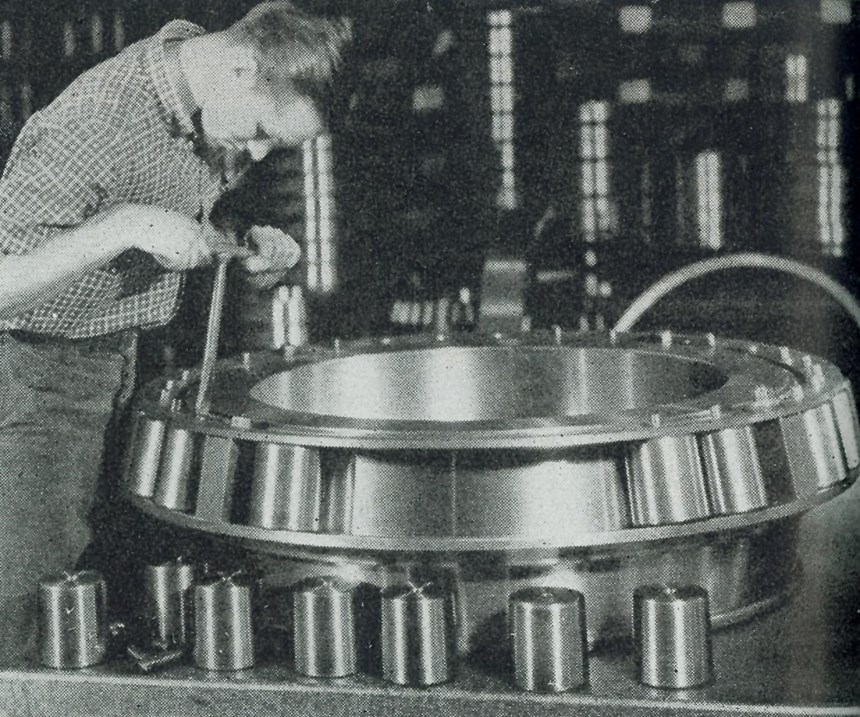
That same year, a nine-page feature article appeared in the pages of MMS offering a detailed appreciation for—of all things—roller bearings. The article caught my eye in no small part because the bearing is frequently an underappreciated component. Even among manufacturers, the bearings allowing smooth and precise motion of their machines are items rarely considered unless one fails. Yet the editors of Modern Machine Shop in 1943, and presumably the readers then as well, could easily recognize the significance of roller bearings as a component of the vehicles and weaponry our forces were using to fight overseas. Nine pages about how Timken roller bearings are manufactured was apparently exactly the right piece for the time.
Seventy-five years later, I turned to Timken again in the spirit of the same appreciation. I showed the article to representatives of the company involved with bearing manufacturing and asked them what has changed.
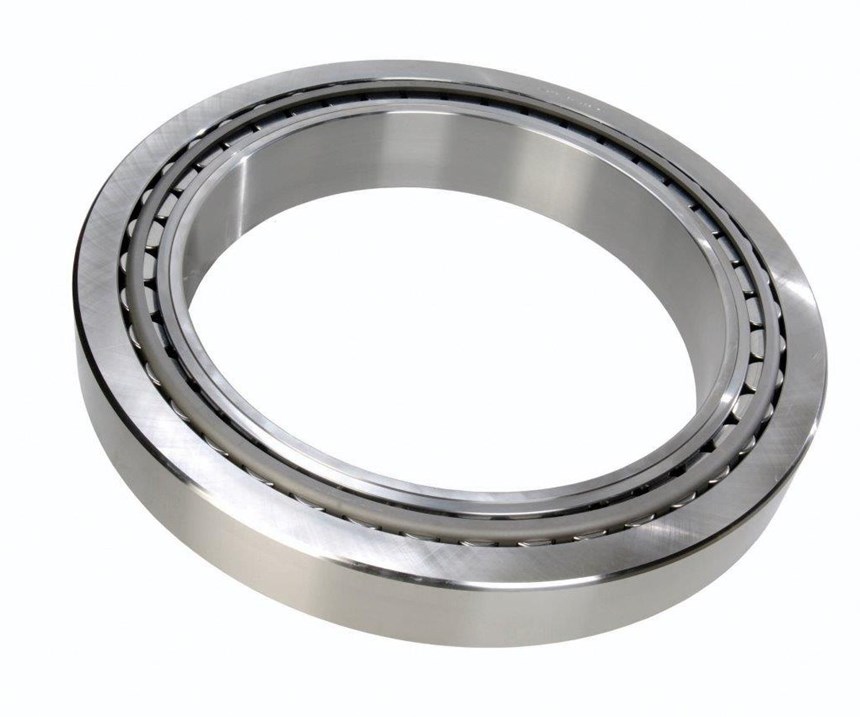
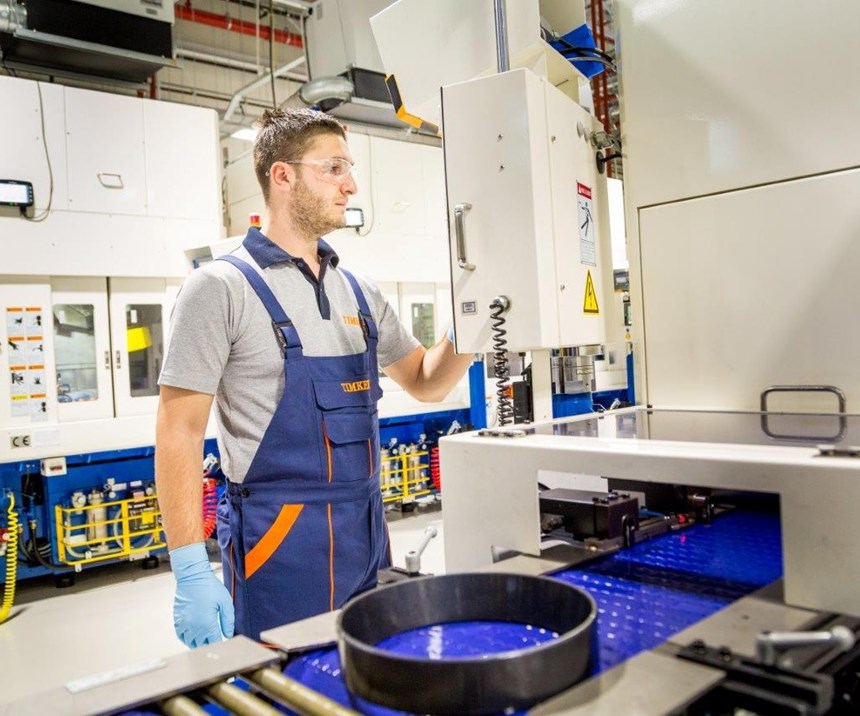
The importance of the product has not. Today, the company provides mechanical power transmission products along with various bearing types, yet the tapered roller bearings in the World War II-era article remain an easily recognizable item today, still accounting for a large share of the company’s business. Not surprisingly, however, practically every detail of the manufacturing process has changed, and Stephen Johnson, PhD, says the differences started with the steel.
Dr. Johnson is the bearing maker’s head of R&D and a 43-year veteran of the company. He says the post-war period began what in retrospect seems to him to have been the “gravy years” for the company’s sales. Long-lasting bearings were difficult to manufacture then, and Timken’s expertise gave it far less competition than it faces today. The end of that period came in the late 1970s, he says, because of a development Timken itself helped to realize. Advances in steel processing—specifically, cleaner steel via air melting as opposed to expensive vacuum melting—resulted in high-performing steel at a previously unachievable low cost. By beginning with better steel, it became less difficult to make long-lasting bearings. Suddenly, Timken faced competition from companies that previously would not have been able to challenge it.
Throughout the decades since then, the response that has kept Timken successful has been roughly the same as that of other manufacturers affected by disruptive technologies or market changes. That is, Timken has continually sought to win savings from more efficient manufacturing and to improve its product features to serve higher-value markets.
The steel-making business and the bearing-making business were split into separate entities in 2014, TimkenSteel and The Timken Company. Dr. Johnson belongs to the latter company. He shared the 1943 article with several colleagues who commented on various ways manufacturing has advanced. Comparing the processes then and now, here is what they see:
- Inventory. Praveen Pauskar, group leader and technologist for Timken, notes that large inventories of finished goods or work in process were apparently taken for granted back then, but now they are recognized as significant sources of cost. This recognition has influenced the choice of part-making operations, he says. The article says that his company’s process 75 years ago involved bearing races made from steel tube cut on automatic screw machines. “The screw machines were great for volume but not flexibility,” he says. Today, the company makes comparable parts through a combination of quick-change-over forging and milling on CNC machining centers, the combination of which enables economical, just-in-time adaptation to changing order demands without a large glut of parts moving through processing.
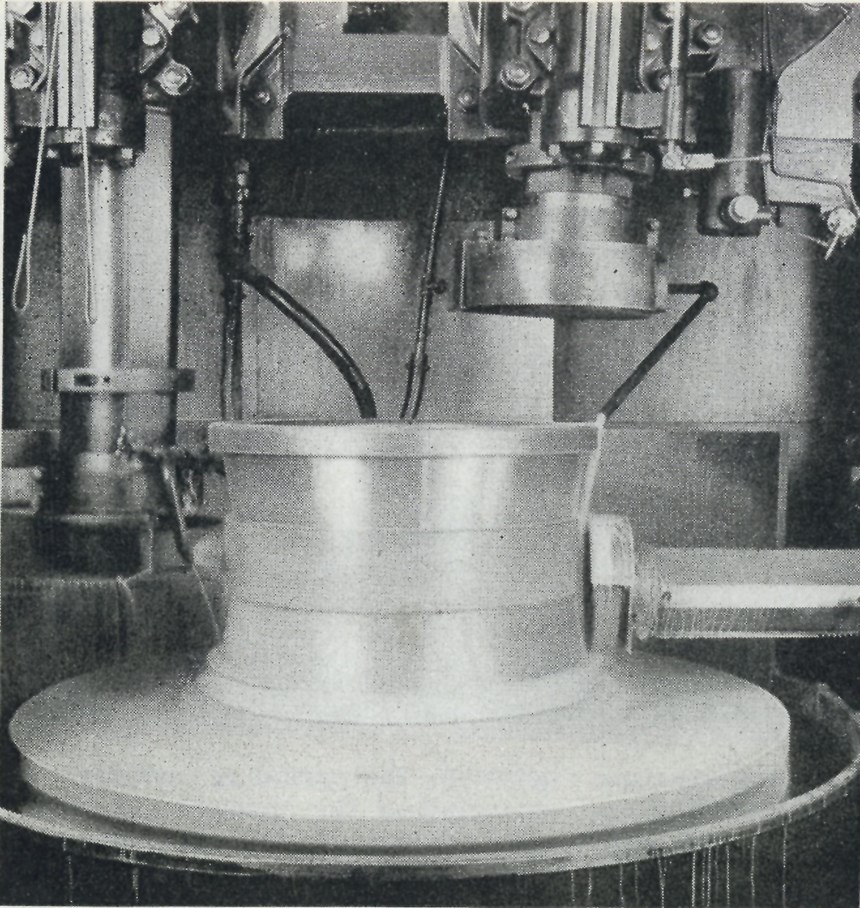
- Surfaces. “I don’t see any reference [in the article] to Superfinishing,” says Rahul Chaudhari, manufacturing and metrology manager. From this, he guesses that the process was not part of production then. It is essential today. Superfinishing, in which a fine-grit abrasive is used to produce a smooth surface with a crosshatch pattern instead of grinding’s parallel lines, enables Timken to realize the surface tolerances now required. At a basic level, he says, “the grinding processes are much the same as they appeared to be 75 years ago.” They are now simply more automated, more productive and computer-controlled. Grinding today generally reaches 16 to 20 microinches roughness average (Ra), which is frequently insufficient. Superfinishing brings the surface to better than 5 microinches Ra. This manufacturing advance has permitted the product line’s advance, because a smoother surface means less loss due to friction, allowing a given amount of power to be driven through a smaller bearing volume, as well as greater durability for the bearings.
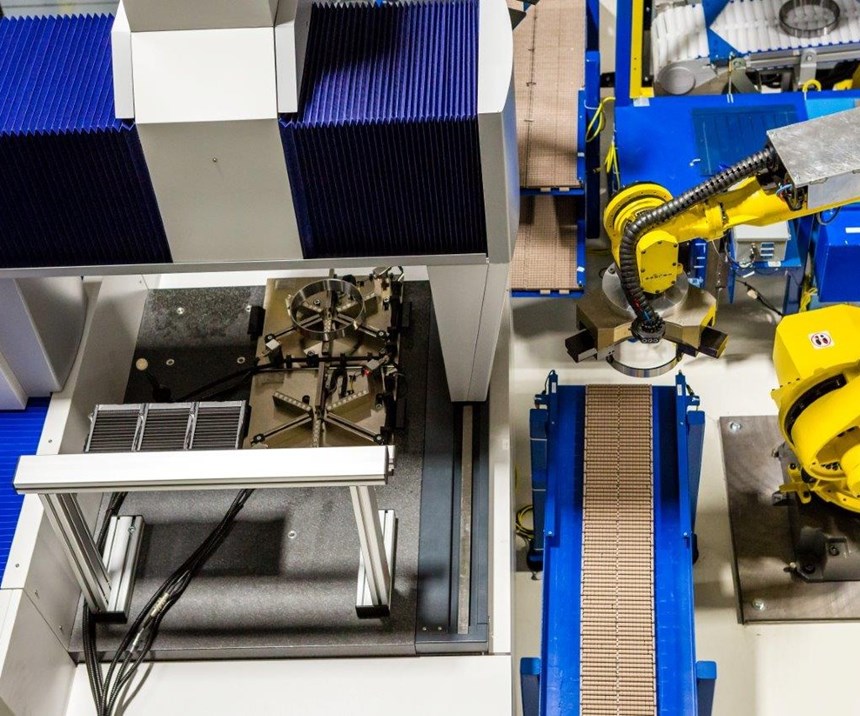
- Inspection. Bob Wolfe, who is group leader for nondestructive evaluation (NDE), points to the omission of this practice as the one that seems glaring to him. An example of NDE used today is vision systems, or cameras for detecting defects and other nonconformances. “Back then, I think they would have had a lot of people at benches manually inspecting,” he says. (In other words, they did use vision inspection, just a very different kind.) That benchwork would have demanded quality assurance through auditing samples, he says, since manually inspecting every piece would have been labor-prohibitive. “Today our customers often expect 100-percent inspection,” he says. More is known now about the limitations of auditing. “Some nonconformances are sufficiently random that catching them through auditing amounts to just luck.”
- Gaging. Larry Keller, metrology and gaging technologist, recognizes a great deal that has improved in the area of gagingfor example, the reliance then on dial indicators provided 0.0005-inch resolution at best. Today, digital sensors offer resolution 100 times narrower. “Back then, we would have used ‘blue’ to visually evaluate form, whereas now we can measure the form precisely,” he says.
The most notable part of the 1943 article for Mr. Keller might have been its very last sentence, which refers to “a profilograph capable of measuring surface irregularities to within one millionth of an inch.” “I would like to see that gage!” he says in amusement.
The writer of the piece got this detail wrong. Has our capability in reporting improved to the same extent that Timken’s manufacturing has? Here is a confession: We still get details wrong sometimes. In the case of my colleague from 75 years ago, I cut him a lot of slack. There was a war to fight. And given that it was a war relying on manufacturing, he was doing his part.
Related Content
Rethink Quality Control to Increase Productivity, Decrease Scrap
Verifying parts is essential to documenting quality, and there are a few best practices that can make the quality control process more efficient.
Read MoreHow to Calibrate Gages and Certify Calibration Programs
Tips for establishing and maintaining a regular gage calibration program.
Read MoreTurning Fixed-Body Plug Gages Inside Out
Fixed-body mechanical plug gages provide fast, high-performance measurement for tight-tolerance holes.
Read MoreThe Many Ways of Measuring Thickness
While it may seem to be a straightforward check, there are many approaches to measuring thickness that are determined by the requirements of the part.
Read MoreRead Next
Building Out a Foundation for Student Machinists
Autodesk and Haas have teamed up to produce an introductory course for students that covers the basics of CAD, CAM and CNC while providing them with a portfolio part.
Read MoreRegistration Now Open for the Precision Machining Technology Show (PMTS) 2025
The precision machining industry’s premier event returns to Cleveland, OH, April 1-3.
Read More5 Rules of Thumb for Buying CNC Machine Tools
Use these tips to carefully plan your machine tool purchases and to avoid regretting your decision later.
Read More

