Share


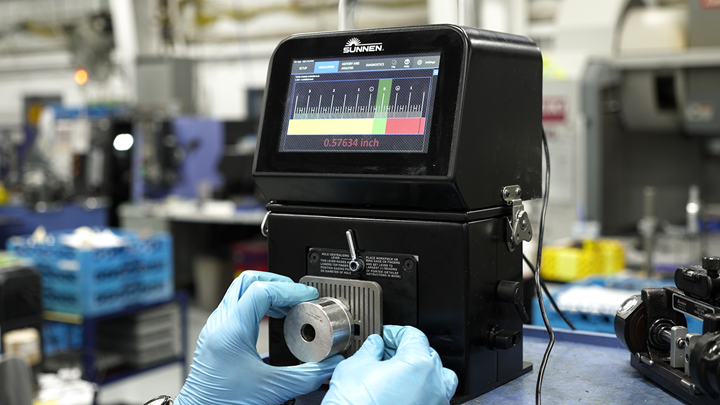
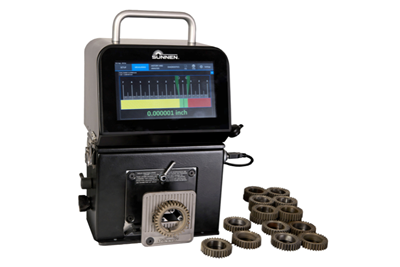
Phil Hanna, product manager at Sunnen, describes the PGE-6000 digital gage as a viable alternative to air gaging because it brings flexible ID gaging to the manufacturing floor with no need for air probes or master rings.
Photo Credit: Sunnen
Manually writing down bore gage measurements and inputting them into a statistical process control (SPC) system is slow and risks transcription errors even when working on parts with standardized requirements — this process grows unacceptably riskier with custom precision parts and bearings, such as those made by Kamatics Corporation. When the high-mix, low-volume operation started searching for ways to reliably increase productivity and profitability, moving to a digital gaging approach was high on the list.
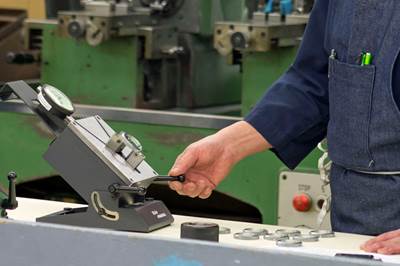
The company teamed up with Sunnen to produce a digital gage, using the analog PG-800 gage as a starting point and rapidly prototyping the experimental system. Phil Hanna, product manager at Sunnen, says the PG-800 was used as the starting point because it was a well-proven system that Kamatics was already using. The PG-800 can cover diameters from 0.370 inch to 3.00 inches (with optimal extension fingers) and is typically used with a Sunnen PG-400E or PG-500E setting fixture to eliminate the need for master rings.
“We wanted to have that flexibility and reliability of the PG-800 mechanism that measured the part coupled with an internal computer,” Hanna says.
One of the biggest hurdles in getting this prototype ready was determining how best to handle the data acquisition and display. The software and electrical engineers working on the project initially thought it would be best to have the data downloaded onto a flash drive. Once a prototype was in Kamatics’ hands, the shop determined it would rather have the ability to connect the gage directly to a PC, so the engineering team incorporated that functionality into the gage based on Kamatics’ feedback.
About a year after the first design meeting, Kamatics was beta testing the resulting Sunnen PGE-6000 Electronic Bore Gage on its shop floor.
“We had a very aggressive feedback cycle during development, with 24-hour software updates in some cases, and the two teams worked well together,” says Chris Sopelak, senior team leader of components manufacturing for Kamatics’ spherical value stream.
Kamatics now uses the digital gage to acquire and track its bore measurement data while eliminating the guesswork and potential human error that comes with manual data transcription.
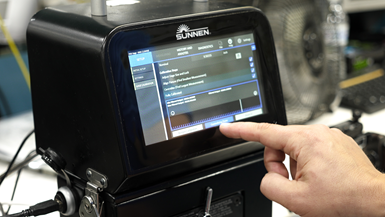
The PGE-6000 allows users to place a part on the gage and either tap the screen or use the foot pedal to record measurements. Whatever the gage reads gets directly translated and uploaded as data.
Photo Credit: Sunnen
“The electronic bore gage removes the complexity from the measurement process,” Sopelak says. “Setup is easily accomplished with Sunnen’s existing PG-400/500 setting fixtures, and the setup menu holds all the information required for part inspection. However, the key is the internal data storage for use in our SPC analysis and lean manufacturing operations.”
Hanna says the electronic bore gage is a viable ID gaging alternative to air gaging in many instances.
“Compared to air gaging, it’s very flexible and you don’t have to spend all the extra money on probes and master rings for every size, which have a very narrow diameter range,” Hanna says. “So it’s a very cost-effective solution.”
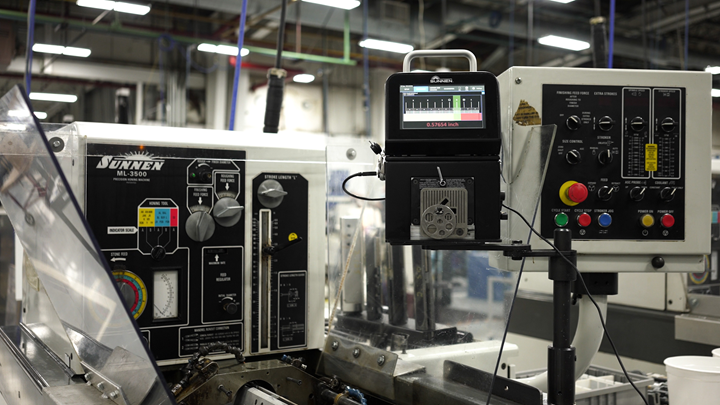
“We use four Sunnen ML-3500 hones to final finish all our machined bores to tolerances between 0.0003 and 0.0005,” Sopelak says. “We put the bore gages on the shop floor right next to our honing stations for in-process measurement, as well as final inspection. Our operators like the portability, and they have a large range, high repeatability and high accuracy.”Photo Credit: Sunnen
The PGE-6000 handles a wide range of bore diameters — the same 0.370 inch to 3.00 inches as the PG-800 — and types of materials, so a single gage can measure the thousands of different parts produced at Kamatics.
The PGE-6000 also uses the same setting fixtures as the PG-800, so PG-800 users don’t have to buy new setting fixtures if they want to implement the digital gage in their shop. Serialized part measurements are stored in the gage and then transferred to the SPC system for analysis via a direct cable connection to a PC or USB drive.
Now, Kamatics is able to get an instant digital readout for 100% inspection.
Sunnen officially unveiled the PGE-6000 at IMTS 2022. The company has since begun leasing and selling the gage industry-wide, with Kamatics purchasing three of its own.
Related Content
Parts and Programs: Setup for Success
Tips for program and work setups that can simplify adjustments and troubleshooting.
Read MoreHow to Calibrate Gages and Certify Calibration Programs
Tips for establishing and maintaining a regular gage calibration program.
Read MoreProcess Control — Leveraging Machine Shop Connectivity in Real Time
Renishaw Central, the company’s new end-to-end process control software, offers a new methodology for producing families of parts through actionable data.
Read MoreBallbar Testing Benefits Low-Volume Manufacturing
Thanks to ballbar testing with a Renishaw QC20-W, the Autodesk Technology Centers now have more confidence in their machine tools.
Read MoreRead Next
Choice Of Bore Gage Depends On The Application
Indicating bore gages come in two basic varieties: adjustable-capacity gages with interchangeable contacts or extensions and fixed-size gages with plug-type bodies. While indicating plug gages can measure closer tolerances with higher repeatability than adjustable ones, these are only two of several factors to consider when selecting a bore gage.
Read MoreChoose the Correct ID/OD Gage for the Task
Benchtop and portable comparator gages each have their place, but the differences are more than surface deep.
Read MoreSunnen's Electronic Bore Gage Provides Flexible Measurement
The PGE-6000 gage brings reliable, flexible ID gaging to the manufacturing floor with no need for probes or master rings.
Read More


