Accuracy Gain From Linear Encoders
If the position of a machine tool’s axis is measured using a rotary encoder, then potentially the ballscrew is being asked to perform two contradictory functions. The ballscrew both drives the axis into position and indicates that position—because the ballscrew lies in between the encoder and the moving element of the machine. Control technology supplier Heidenhain calls this “semiclosed-loop” operation.
Share


If the position of a machine tool’s axis is measured using a rotary encoder, then potentially the ballscrew is being asked to perform two contradictory functions. The ballscrew both drives the axis into position and indicates that position—because the ballscrew lies in between the encoder and the moving element of the machine. Control technology supplier Heidenhain calls this “semiclosed-loop” operation. The heat of operation can result in dimensional changes to the ballscrew itself, and the rotary encoder cannot account for this change. The video illustrates this.
By contrast, fully closed loop operation measures the position of the moving element of the machine directly, thereby accounting for the influence of the ballscrew or any other machine component. A linear encoder makes it possible to achieve this direct measurement.
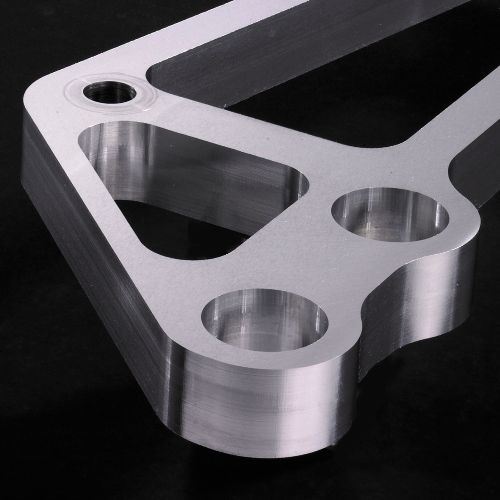
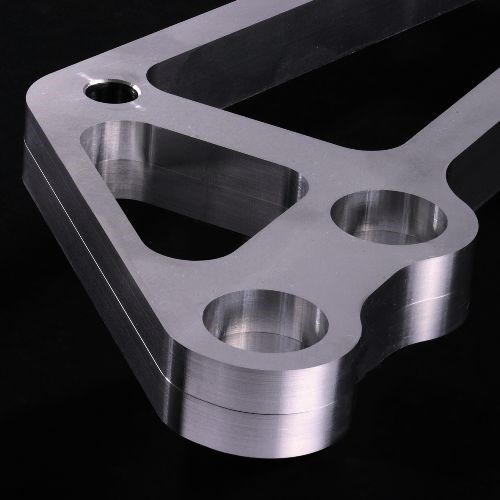
The two photographs show the difference. The same part, a coupling lever, was machined two times. The part was machined out of a solid block of aluminum, then the tool descended 10 mm to machine the same part again directly below it. The average feed rate was about 2.8 m/min.
In the first photo, the parts were machined in semiclosed-loop mode using rotary encoder measurement. The effect of thermal drift can be seen (view the photos large). Though the tolerance for this part was ±28 microns, the increase in thermal error as the tool moved away from the fixed bearing of the ballscrew caused this part to reach a maximum discrepancy of 44 microns.
The second photo shows the closed-loop measurement, with linear encoder positioning directly tracking the axis. Thanks to this measurement, the maximum discrepancy was only 10 microns.
Related Content
-
5 Tips for Running a Profitable Aerospace Shop
Aerospace machining is a demanding and competitive sector of manufacturing, but this shop demonstrates five ways to find aerospace success.
-
Can AI Replace Programmers? Writers Face a Similar Question
The answer is the same in both cases. Artificial intelligence performs sophisticated tasks, but falls short of delivering on the fullness of what the work entails.
-
Cutting Part Programming Times Through AI
CAM Assist cuts repetition from part programming — early users say it cuts tribal knowledge and could be a useful tool for training new programmers.


.jpg;maxWidth=300;quality=90)


