The Big Step Up
A small shop added two new machines, each of which is more advanced than any of the previous machine tools the company has used. One of the co-owners committed to the work of bringing both of these machines fully into service. Here is the shop’s experience so far.
Share


G&G Precision has appeared in the pages of this magazine once before. The eight-employee job shop in Winder, Georgia, uses creative workholding techniques on low-cost machine tools to manufacture high-value precision components, such as implants for spinal correction. We described some of this process engineering in an article in 2008. While co-owners Paul Gombar and Rich Griffith have always been proud of what the shop can accomplish through this kind of engineering, the two men say they have also always known that these creative techniques could carry them only so far. Customers’ work continues to advance in complexity. At some point, that complexity would call for the shop to add more sophisticated equipment. The shop would have to step up, perhaps in a significant way.
That point seemed to come last year. Two new contract production jobs presented the shop with two significant machining challenges. One job, involving a titanium alloy part with a difficult feature, favored a rigid 3+2 machining center. The other job, which consists of dozens of related part numbers, argued for single-setup machining on an eight-axis turning center. The shop took on both jobs, and it purchased both of these machines.
For a shop this small, it was a very big move. The two machines together cost more than all the other equipment the shop had ever purchased to date. Both machine types were also foreign to the shop, which previously had relied on simple machining centers and lathes.
In addition, the machines arrived at roughly the same time. They were installed within two weeks of each other, requiring the shop to bring both machines into service together.
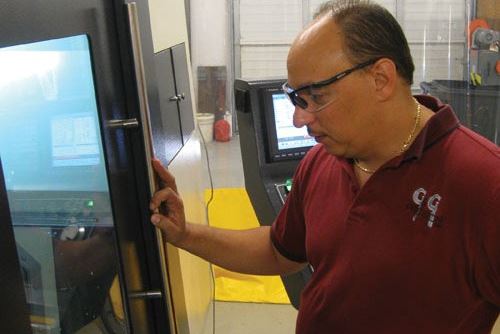
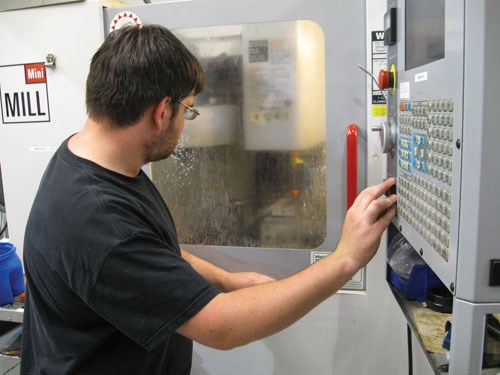
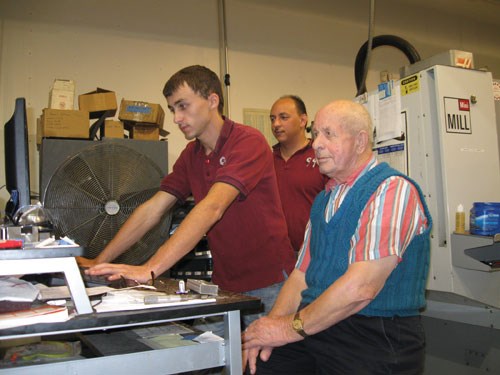
Mr. Gombar was the one who had to master the new machines and make them productive for the shop. To allow him to work on both machines, he had them installed close to each other in an expansion space added to the shop for this purpose. For weeks, he put in long nights in this area, equipping the machines to run the new parts and learning how to employ the machines effectively.
He could have avoided the stress. Neither machine was truly necessary for G&G. The shop bought the five-axis machine largely for the sake of a machined blend that a setup on a three-axis machining center could not generate effectively. The blend is cosmetic, and it may not have proven significant in the marketing of the final part. Similarly, the shop bought the complex turning center for parts that could have been produced in multiple setups on simpler machines, using the same sort of engineering creativity the shop has already employed successfully in the past.
Plus, none of the parts to be run on either machine have yet been released into production. At this writing, FDA review of the medical products that will use these parts is still a hurdle to be cleared. At best, G&G was confident that it would be machining these parts, but not certain. Buying the new machines was a risk.
But it was time, the shop owners say. Both of them believe this. It was time for the shop to have the capabilities of both of these new machines—not just for the sake of these likely jobs, but also for the sake of the unknown jobs that the shop will now be able to pursue with this equipment.
In a way, the shop owners jumped on these new production jobs as justification—even rationalization—for capabilities they were increasingly intent on acquiring.
And the fact that two different rationalizations for two different types of machines arrived simultaneously just made the move more interesting.
Here is a look at that move. Full production with these machines hasn’t yet begun, but the machines are already changing the shop. Here is a look at the effect that these new machines have had upon G&G so far.
Precision
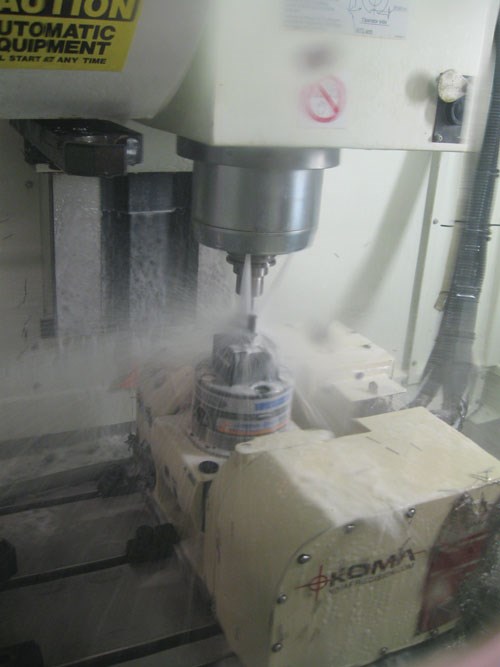
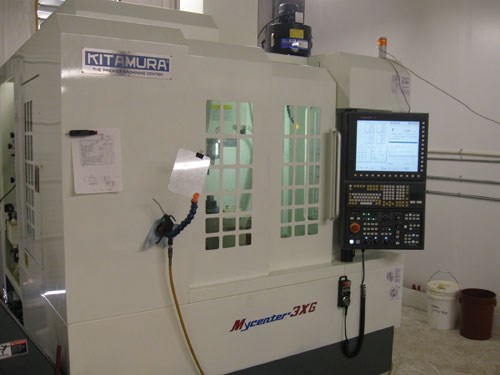
The new 3+2 machining center is a Kitamura Mycenter-3XG outfitted with a heavy-duty tilting trunnion table from Koma Precision as well as a Big Plus spindle interface and corresponding toolholders from Big Kaiser. The machine also has a laser toolsetter from Renishaw.
All of these choices aim toward dimensional precision, Mr. Gombar says. The shop chose both the machine and its trunnion for their accuracy and rigidity. The dual-face contact of the spindle interface ensures rigidity as well, while the laser toolsetter captures precise tool offset measurements. The machine was costly for the shop in multiple ways—not just because of the price (higher than the low-cost machining centers the shop is accustomed to), but also because various aspects of the machine required Mr. Gombar to spend time on learning. (For example, the machine presented the shop with its first Mitsubishi control.) The entire system was installed as a package by Flint Machine Tools of Snellville, Georgia, and Mr. Gombar credits the support of this company with helping him ascend the learning curve more quickly than he otherwise would have.
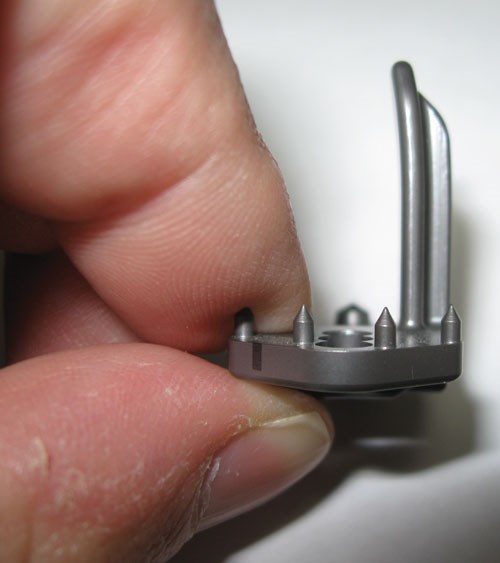
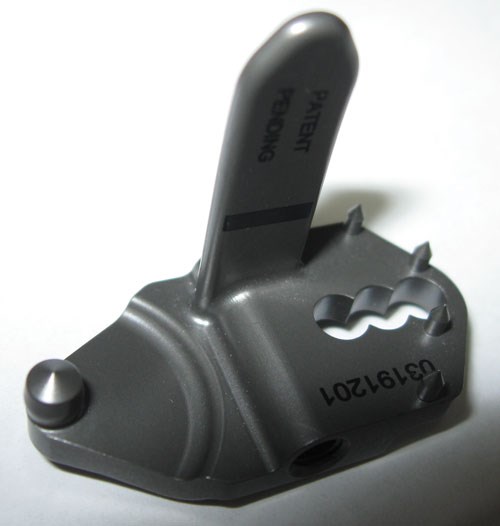
The machine’s precision, along with 3+2 work positioning, was important to G&G because of one particular machined feature. The titanium part to be run on this machine is the larger half of a two-piece mechanism that surgeons will use to clamp a patient’s spinal vertebra. This part has a fin-like feature projecting from it—to mate with the other piece—and the transition between the fin and the rest of the component created a surface that was difficult for G&G to machine smoothly. When prototypes were milled on a three-axis machining center, the shop had to use a long tool to reach this surface. Tool deflection produced a visible discontinuity in the area of the blend. Even though the customer was not concerned with this imperfection, Mr. Gombar and Mr. Griffith worried that the customer’s customer would not react so favorably. Plus, they say G&G has a reputation for quality machining, and the parts it ships are arguably its most important marketing. Therefore, the shop invested in precise 3+2 machining for the sake of this blend, with the hope that the same capability would also be valuable for other challenging jobs in the future.
For now, the machine is having an impact on jobs won in the past, Mr. Gombar says. This result of buying the machine has been an important surprise.
It all started with a tooling suggestion, he says. For G&G’s new process on the machine, Flint Machine Tools recommended end mills from G.W. Schultz Tool. That recommendation inspired G&G to perform a battery of cutting tests in search of the most effective tools and parameters. When the shop won a pre-production order for 150 pieces of the new part number, Mr. Gombar’s machinist father, Paul Gombar, Sr., oversaw this testing, which involved running different pieces with different cutters and different sets of cutting conditions so performance could be documented. At the end of these tests, the shop adopted not only the G.W. Schultz tooling, but also what was for G&G a different approach to milling titanium—an approach combining much higher speeds and feed rates with much lighter depths of cut than the shop was accustomed to using. That approach will be applied to the new part number when it goes to production, Mr. Gombar says. In the meantime, though, this method of machining has already been copied by other
G&G employees running titanium jobs on existing machines.
G&G staff member Daniel Dimonda describes an example. The process for a production titanium part run on a small vertical machining center was recently re-engineered to take advantage of the high-feed, low-depth technique. Reducing stepover allowed cutting speed to increase from 100 to 350 sfm, with feed rate increased by the same proportion. Cycle time for the part has gone down.
Mr. Gombar views this process improvement as an unexpected side benefit that makes him feel even more confident about the value of the new machining center. Stepping up to higher-value equipment gave the shop both the opportunity and the impetus to examine its established machining techniques. The examination has led to advances that are valuable not only for this machine, but for the other machining centers in the shop. Even before full production on the new machine has begun, the experience with it has elevated the level of the shop’s performance.
Productivity
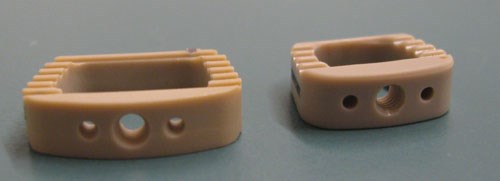
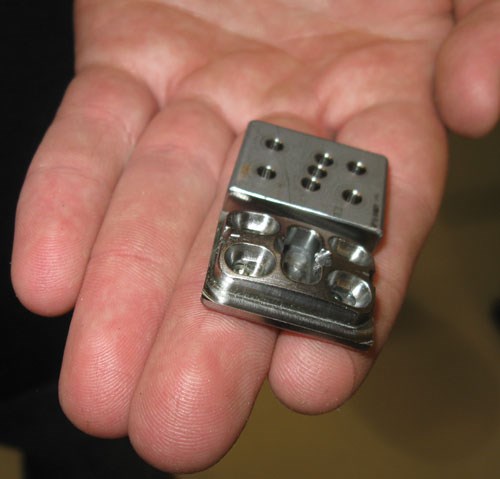
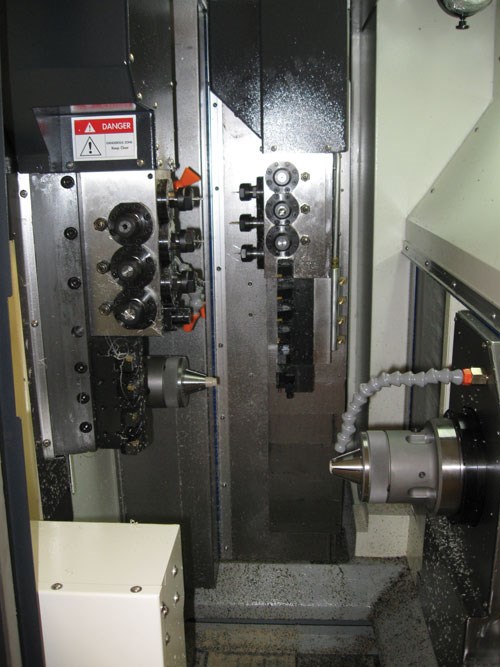
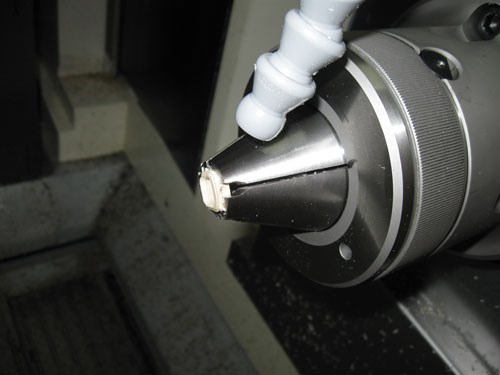
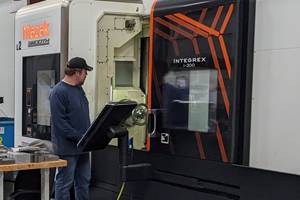
The other new machine in the shop is an eight-axis turning center with two opposing spindles and two gang turrets. The machine (the shop wishes not to disclose its make and model) superficially resembles a CNC Swiss-type lathe, albeit with no sliding headstock. Three part families totaling 36 part numbers will be run on this machine—all implant components related to spinal fusion, and all of them machined from PEEK. Though none of these parts requires turning, Mr. Gombar recognized a multitasking turning center as the right solution for reasons that go beyond roundness. The tiny, detailed parts require machining on both faces and all around the periphery. Machining them from barstock on this machine will allow the shop to make them in one setup, minimizing error. In fact, feeding a PEEK bar into this machine will allow batches of these parts to be produced in long, unattended cycles. These parts also have not entered full production, but when they do, the turning center will almost certainly become G&G’s most productive machine.
Mr. Gombar says he is now “at one” with this machine, having recently spent more time than he ever expected on getting to know it quickly and thoroughly. The postprocessor allowing him to use the shop’s CAM software with this machine was not yet ready when his customer asked for prototype parts. Therefore, he ended up programming the machine by hand, writing the program line-by-line in a PC text editor.
It might have been for the best, he says. Thanks to the challenge of this programming (which accounted for many of his recent late nights in the shop), he now knows the machine’s capabilities very well. He thinks he also produced a program that will be better for the shop than what the CAM software might have generated. His one program covers all 36 part numbers by relying on variables to adapt the machine moves to the different part designs. This will make it easy to modify the program across the entire set of parts, and to add new parts to these families in the future.
He also found unusual ways to use the machine efficiently. The turning center is configured so that one turret machines the part in the first spindle and the other turret machines the part in the second spindle, and he suspects the CAM software would have programmed the cycle this way. But in the case of a serration tool needed for both faces of the part, Mr. Gombar’s program has the second turret mill the part with this tool even while the part is still in the first spindle.
He says this exercise in becoming familiar with the machine’s capabilities has also helped him to better recognize its potential. This machine—and to a lesser extent, the 3+2 machine—represents considerable capacity for full-scale production of high-value parts. The shop’s hope of marshaling this capacity is leading to other changes, he says—changes throughout the shop that affect the ways that all work is performed.
Getting Certified
One of those changes has to do with discipline in using cutting tools. G&G’s staple has traditionally been machining prototype parts. That specialty, fortunately or not, has permitted the shop a lack of structure and consistency in the way it uses tooling. One-off jobs are often needed so quickly that the shop’s best guess of cutting tools is sufficient, along with similar guesses at cutting parameters. However, the value realized as a result of searching out optimal tools and parameters for the new titanium part was revealing. In search of similar process gains, Mr. Gombar has tasked Mr. Dimonda and Justin Gombar (his son) with paring down the shop’s tool choices into a standard list that will work with nearly all of the jobs the shop is accustomed to running. Establishing this standard list will allow the shop to begin developing optimal parameters for each of those tools. That knowledge will be particularly valuable as production work occupies a larger share of the shop’s capacity.
The shop is also pursuing ISO certification. Too often, the owners say, G&G has struggled to prototype a complex part successfully only to miss out on winning the production work. “The story of my life,” Mr. Gombar says. Lack of ISO certification is a frequently cited reason.
The shop’s success at prototyping is actually part of the problem. Enough production work has been won on the basis of prototyping success to keep the shop occupied. The customers in these cases are so impressed with the prototypes that they overlook the fact that G&G fails to meet all of the their nominal qualifications for suppliers, one of which is certification. The shop is ISO compliant, but not certified, Mr. Gombar says, and frequently (too frequently?), that compliance has been close enough. Now, the shop will close this gap. Doing so has become all the more all the more urgent now that the shop has the higher-value capacity to support.
When the shop took its big step of buying this capacity, it couldn’t have known how many other shop-wide changes the move would encourage. Going forward, will G&G win enough new production work to both fill the new capacity and enable the shop to step up even higher? It will be worthwhile to check in with the shop one more time in the coming years to learn the answer.
Related Content
Which Approach to Automation Fits Your CNC Machine Tool?
Choosing the right automation to pair with a CNC machine tool cell means weighing various factors, as this fabrication business has learned well.
Read MoreOrthopedic Event Discusses Manufacturing Strategies
At the seminar, representatives from multiple companies discussed strategies for making orthopedic devices accurately and efficiently.
Read More5 Tips for Running a Profitable Aerospace Shop
Aerospace machining is a demanding and competitive sector of manufacturing, but this shop demonstrates five ways to find aerospace success.
Read MoreLean Approach to Automated Machine Tending Delivers Quicker Paths to Success
Almost any shop can automate at least some of its production, even in low-volume, high-mix applications. The key to getting started is finding the simplest solutions that fit your requirements. It helps to work with an automation partner that understands your needs.
Read MoreRead Next
Setting Up the Building Blocks for a Digital Factory
Woodward Inc. spent over a year developing an API to connect machines to its digital factory. Caron Engineering’s MiConnect has cut most of this process while also granting the shop greater access to machine information.
Read MoreBuilding Out a Foundation for Student Machinists
Autodesk and Haas have teamed up to produce an introductory course for students that covers the basics of CAD, CAM and CNC while providing them with a portfolio part.
Read More5 Rules of Thumb for Buying CNC Machine Tools
Use these tips to carefully plan your machine tool purchases and to avoid regretting your decision later.
Read More

