Quality Inspection Software Platform Improves Departmental Efficiency
B&B Airparts needed to provide quality control for all four of its manufacturing departments without a bottleneck forming at the end. Verisurf Software, with its Universal CMM software solution, has improved departmental efficiency by 30 percent.
Share


“Our philosophy is competency breeds quality, and verification of quality is the holy grail,” says B&B Airparts owner Dan Barnard.
The Wichita, Kansas, company has been in business for more than 20 years offering customers in the aerospace and defense industries in-house machining, sheet metal fabrication, assembly and rapid prototyping capabilities. But it was a fundamental change more than three years ago to its overall approach to inspection—that is, establishing one inspection methodology to ensure quality control for each of its four disparate manufacturing processes—that has enabled the company to achieve an annual growth rate of 35 percent every year since. Mr. Barnard notes that Verisurf Software Inc., particularly its Universal CMM capabilities, was instrumental in facilitating this shift in thinking.
During a company-wide strategy meeting in 2015, B&B Airparts decided to provide multiple service offerings that could be developed into “best-of-class” departments capable of competing head-to-head with vertical companies that only provide one service. From that meeting, four “competency centers” were created: machining, fabrication, assembly and Blue Streak, a department that provides comprehensive support for prototype development and rapid manufacturing needs.
Each of the four competency centers operate as a silo with shared company resources such as certain equipment assets as well as sales, marketing, administration and shipping/receiving to help economize overhead. Quality inspection and reporting also became an overarching department, one that requires 100 percent inspection of all parts that go out the door. This was a positive move considering the importance of quality, but it also threatened to form a bottleneck in the inspection area.
The Requirements of Universal Inspection Quality
When quality manager Mike Terrell joined B&B Airparts 2016, he assessed the needs of each competency center and uncovered several inefficiencies in the quality workflow and utilization of measurement and inspection assets. For example, he says that all inspection was being done strictly in the quality lab, which had already become a bottleneck.
Although the company was using many legacy hardware devices, Mr. Terrell says that they were highly accurate and built to last. Because of this, he was mostly interested in software updates. “The existing software was not able to support future functionality requirements such as reverse engineering, assembly guidance and best-fit analysis,” he says. “Adding additional software to get what we needed would require additional licensing, training, annual support and maintenance agreements, which would increase costs and further reduce efficiency.” His goal was to implement an inspection and reporting strategy that was “backwards-compatible” but also supported future growth to enable the company to expand as needed.
B&B Airparts began to search for a single measurement application software to drive all its metrology processes, including quality inspection and reporting, reverse engineering and assembly guidance. The software required:
- The ability to interface with and control all existing and future measurement hardware devices.
- A CAD platform to provide flexibility in managing files and creating and executing model-based inspection.
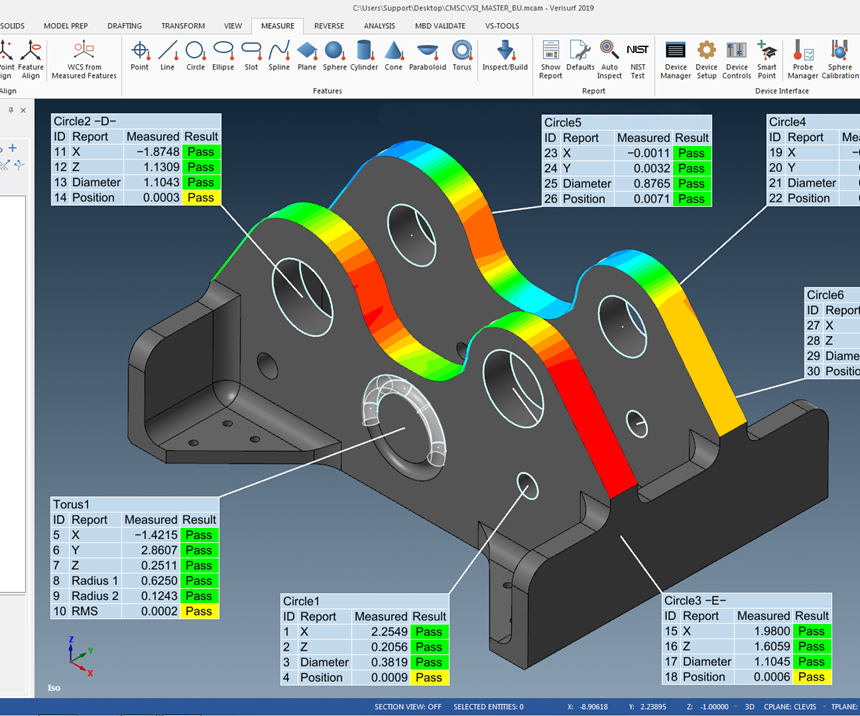
- The ability to import and enable annotation of intelligent geometric dimensioning and tolerancing (GD&T) data to aid the quality team in creating inspection routines.
- The flexibility and embedded tools to handle a range of inspection data, from manual-contact probing to non-contact point clouds.
In addition to the software requirements, it was necessary that measurement hardware include:
- Programmable CNC coordinate measurement machines (CMMs) for automatic inspection.
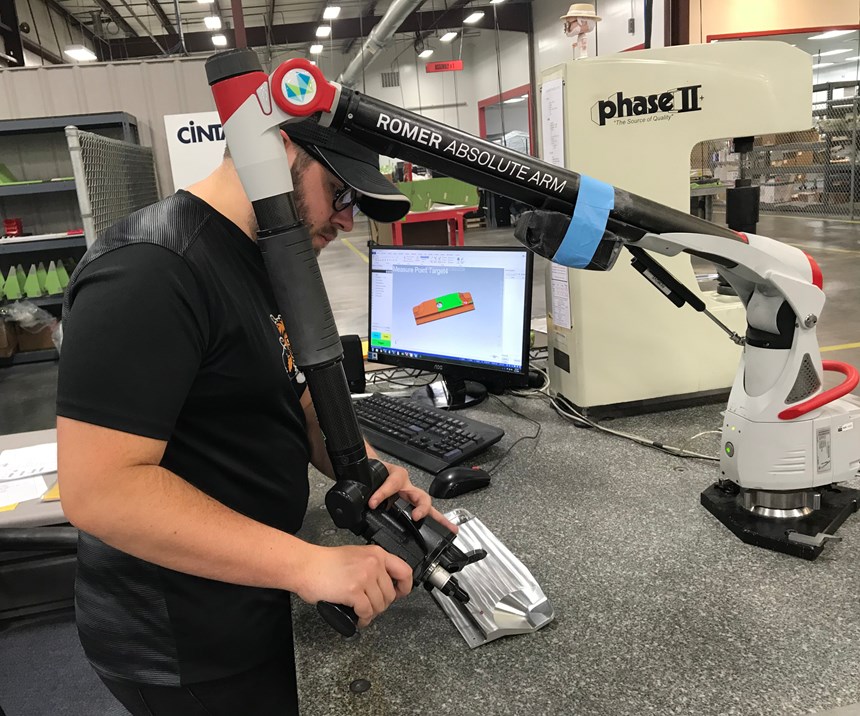
- Portable CMMs (contact probing and non-contact scanning) for first-article and in-process inspection and reporting.
- Laser trackers for large-part inspection and assembly guidance.
A Single Software Platform for New and Legacy Hardware
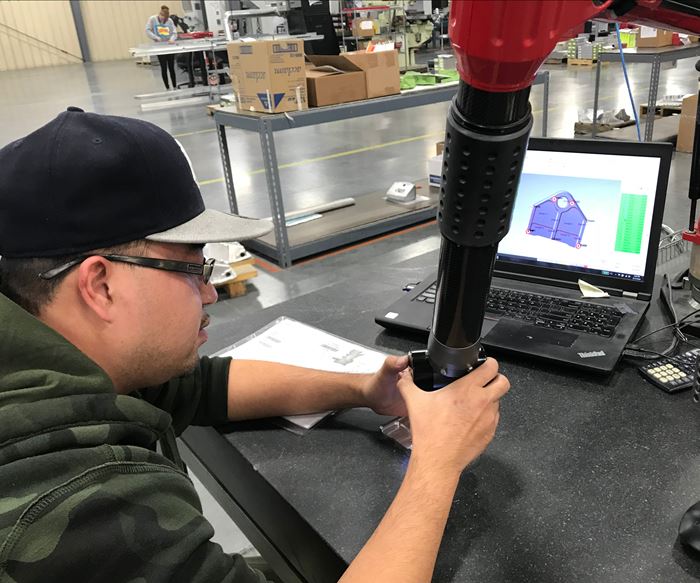
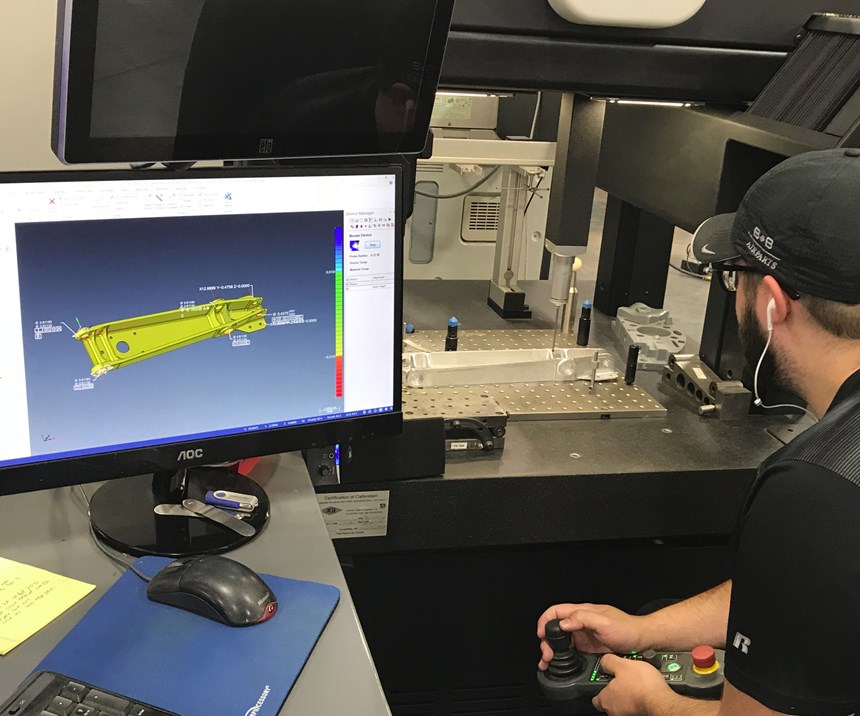
Verisurf Software was selected to support B&B Airparts quality inspection, reporting and overall metrology strategy due to its open CAD-based architecture and model-based capabilities. “Verisurf software serves as a common platform and communicates openly with any CAD file our customers send us. It also supports and drives all our measurement devices in the quality lab or on the shop floor. This includes portable and fixed measuring devices as well as new and legacy equipment,” Mr. Terrell says.
In order to provide a truly common platform, especially when it came to legacy hardware, the software had to provide a communications bridge. Verisurf’s Universal CMM is a software-only solution that enables seamless communication between Verisurf Automate and popular CMMs and head controllers. It enables Verisurf Software to support and drive otherwise non-compatible legacy CMMs while adding additional productivity features found in Automate, such as quickly creating automatic inspection routines by clicking on the CAD features to be included in the inspection plan. Universal CMM software provides an open standard communication protocol, allowing the continued use legacy CMMs while gaining the consistency of interface, operation and reporting with Verisurf.
Since implementing its common platform inspection, reporting and measurement strategy, B&B Airparts has doubled in size, adding people and equipment. The quality department now consists of 10 quality inspectors, all trained on Verisurf Software and running a variety of fixed and portable measurement devices from Hexagon, Romer and Faro.
“One of the main reasons we selected Verisurf was its ability to support all measurement devices and all CAD file formats. Our team now has the ability to select the right measuring device for each job, while realizing increased efficiency and reduced training, data management and support costs,” Mr. Terrell says. “Over the past four years, despite impressive company growth, the quality department has been able to keep up with production output while maintaining 100 percent inspection. We have also seen a 30 percent increase in departmental efficiency through improved part movement, ease of use and consistency of platform.
Related Content
4 Ways to Establish Machine Accuracy
Understanding all the things that contribute to a machine’s full potential accuracy will inform what to prioritize when fine-tuning the machine.
Read MoreHow to Evaluate Measurement Uncertainty
Manufacturing and measurement are closely coupled. An important consideration for the use of measurement results is the associated measurement uncertainty. This article describes common metrology terms and provides an example uncertainty analysis.
Read MoreHelp Operators Understand Sizing Adjustments
Even when CNCs are equipped with automatic post-process gaging systems, there are always a few important adjustments that must be done manually. Don’t take operators understanding these adjustments for granted.
Read More6 Machine Shop Essentials to Stay Competitive
If you want to streamline production and be competitive in the industry, you will need far more than a standard three-axis CNC mill or two-axis CNC lathe and a few measuring tools.
Read MoreRead Next
5 Rules of Thumb for Buying CNC Machine Tools
Use these tips to carefully plan your machine tool purchases and to avoid regretting your decision later.
Read MoreRegistration Now Open for the Precision Machining Technology Show (PMTS) 2025
The precision machining industry’s premier event returns to Cleveland, OH, April 1-3.
Read MoreBuilding Out a Foundation for Student Machinists
Autodesk and Haas have teamed up to produce an introductory course for students that covers the basics of CAD, CAM and CNC while providing them with a portfolio part.
Read More


