Scanning Probe Application on a Swiss-Type
The following case study provided by Blum-Novotest describes how Karlheinz Lehmann GmbH in Oberwolfach, Germany, is able to maintain 2-micron parallelism of slots on a compressed-air coupling component for Parker Hannifin GmbH.
Share


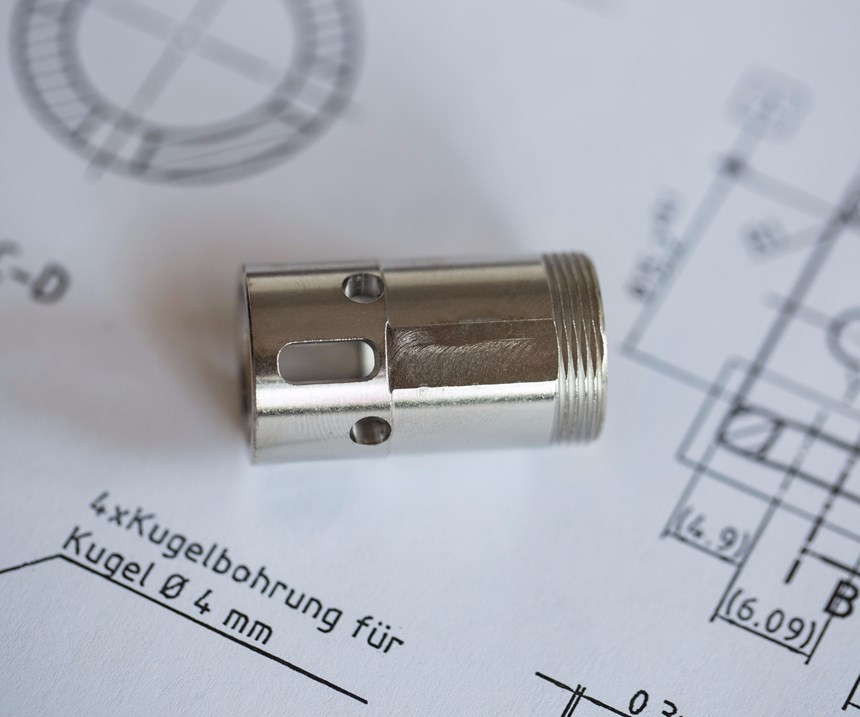
The 17 employees at Karlheinz Lehmann GmbH in Oberwolfach, Germany, focus on the manufacture of precision, rotationally symmetrical parts using equipment such as 20 CNC lathes and milling machines. An example of one of these parts is a complex quick-coupling for compressed-air input for Parker Hannifin GmbH. This was a challenging project, especially given the parallelism required for the part’s four slots. “The key components are hardened and coating-free cutting steel, threads, bores, and four lightly tapered slots,” CEO Timo Lehmann says. “The slots are the crucial point of the whole design.” In fact, the quick coupling simply wouldn’t function if the parallelism tolerance for the slots was exceeded. When assembled, the lightly tapered slots contain balls that must not protrude too far, yet must also never be allowed to fall through the slot. Through this design, the Parker quick-couplers prevent the otherwise common snapping noise when detaching and also enable single-hand operation.
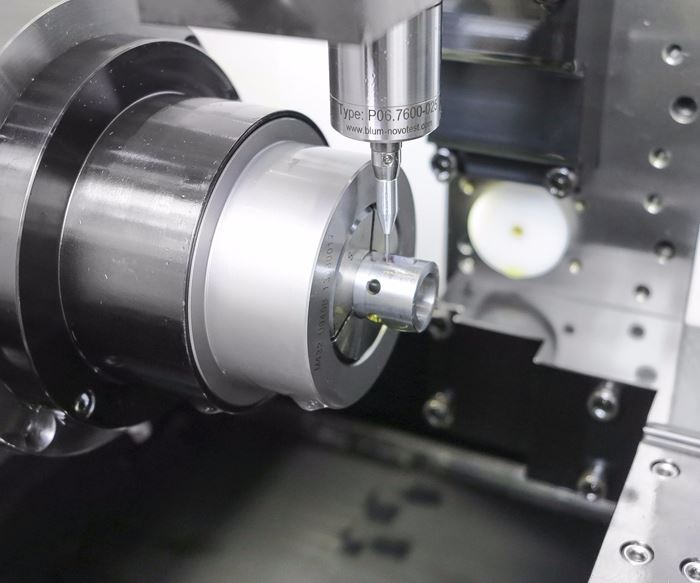
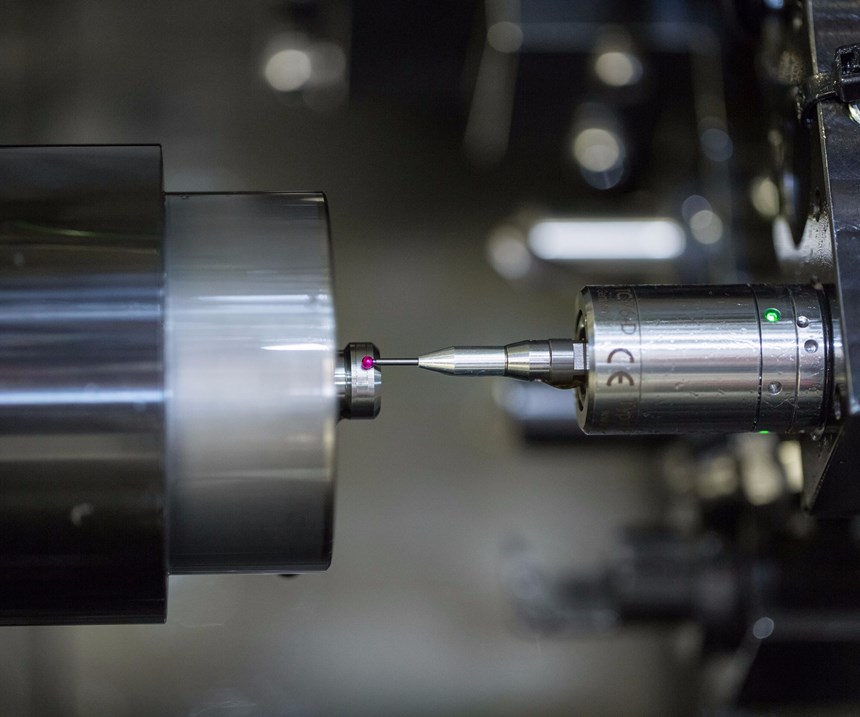
Just as challenging as the production process is the task of measuring the slots. Using a Cincom M32 Swiss-type lathe with a Blum-Novotest TC76-Digilog scanning touch probe, the shop verifies the part’s dimensional accuracy on the machine. This system has been running smoothly and efficiently in Lehmann’s operation since February 2015.
Analog measurement with a touch-trigger probe is effective for areas or lines. However, if such a probe were to be used for the slot-measurement application, a very large number of points on the slots would have to be measured in order to attain an adequate resolution. Instead, the TC76-Digilog scans across the slot surface at a measuring speed of 2 meters per minute, generating an extremely large number of values (50,000 per second) in a fraction of the time of analog data acquisition.
At the start of a production run, a reference part is clamped onto the machine, the complete contour of the corresponding slot is scanned, and the master profile is recorded and saved in the evaluation software. Each machined part is measured and compared against the recorded profile. Any of the parts that exceed the tolerance are discarded. Using on-machine measurement in this way enables Lehmann to perform 100-percent inspection while also detecting error trends at an early stage via the evaluation software.
According to Blum-Novotest, the TC76-Digilog’s increased scanning forces makes it well-suited for the tough applications in lathes as well as milling and grinding machines. Neither coolant nor viscous oils impair the reliability of the measurement data because the higher scanning force enables the probe to simply push through the coolant. It scans parts non-directionally, and measuring precision is attained via the Shark360 measuring technology, which introduces a face-gear measuring mechanism system to perform off-center probing.
Mr. Lehmann notes that the company was close to having to refuse the quick-coupler order from Parker Hannifin until it devised the scanning probe process on the Swiss-type. In fact, it now uses this machine for other large production lots ranging from 10,000 to 30,000 pieces in materials such as aluminum, stainless steels, heat-treatable steels and free-cutting steel.
Related Content
-
How to Calibrate Gages and Certify Calibration Programs
Tips for establishing and maintaining a regular gage calibration program.
-
How to Choose the Correct Fixed-Body Plug Gaging Solution
The two types of fixed-body plug gages are both accurate, fast and easy to use. Consider these factors when selecting one for your gaging application.
-
4 Ways to Establish Machine Accuracy
Understanding all the things that contribute to a machine’s full potential accuracy will inform what to prioritize when fine-tuning the machine.


.jpg;maxWidth=970;quality=90)