Automotive Manufacturer Works with Supplier to Streamline Lean Machining Cells
After Volvo’s casting supplier switched to a new kind of material process, machining tolerances suffered. Sandvik Coromant stepped in not just to suggest new tools, but to provide an in-depth productivity improvement program.
Share


Turning to a preferred tooling supplier for help with a machining problem is nothing new for most shops. The salesperson comes onsite, observes the troublesome operation and makes a recommendation based on their available tooling options. The result is usually, “Here, try this,” and the suggested cutting tool, insert or toolholder is then plugged into the machining equation. Hopefully, the tooling supplier has time to stick around for as long as necessary, working with the shop’s operator or manufacturing engineer until the proposed solution has been put through its paces and the results documented. This approach can yield substantial benefits.
Yet, according to Sandvik Coromant, there are potentially greater opportunities for improvement than tweaking a single machining process.
What if the typically brief troubleshooting exercise described above could be extended into a multi-day, team-building, continuous improvement event? What if the representative’s knowledge and experience, backed by the technical resources of the tooling company, could be applied to an all-encompassing manufacturing floor “checkup?”
Fresh Eyes on Lean Manufacturing Practices
This is what happened at Volvo Powertrain North America’s Hagerstown, Maryland, facility. In 2017, a team of more than 50 representatives from Volvo and Sandvik Coromant came together for a week-long productivity improvement program (PIP), intended to improve the machining processes on a pair of new production cells.
“The equipment was only a few months old, but our machinists were quite familiar with its operation. The main challenge at the time was that our casting supplier had recently been acquired by another company, and they switched to a lost-foam manufacturing process,” explains Johan Alexandersson, director for machining at Volvo. “The material met our specifications, but it was harder, more porous and the casting themselves were a bit more variable from a tolerance perspective. We’d been seeing increased tool wear ever since, which, in turn, drove our throughput and tooling costs to unacceptable levels.”
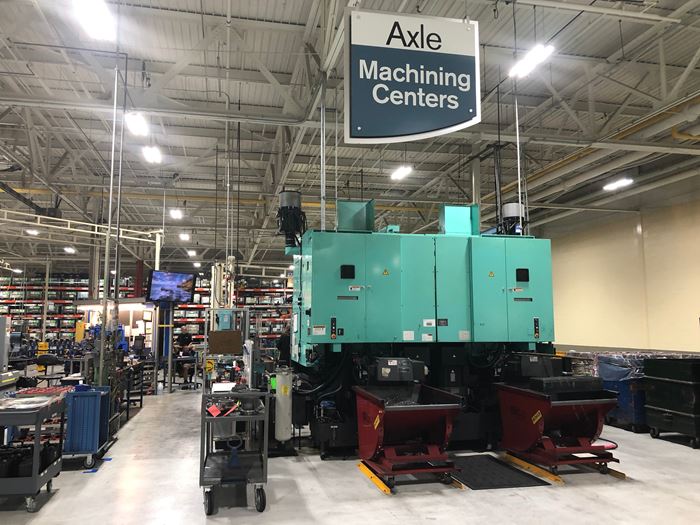
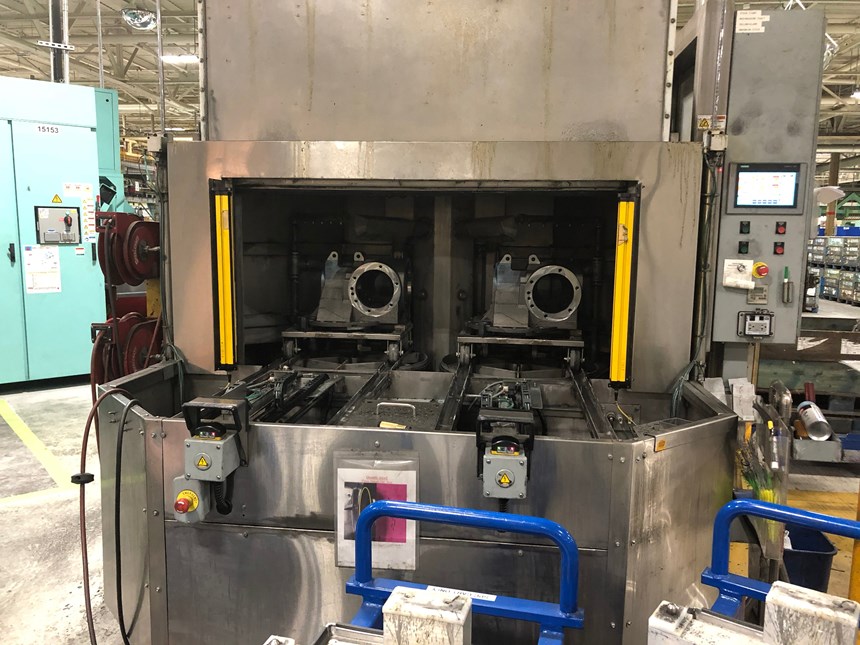
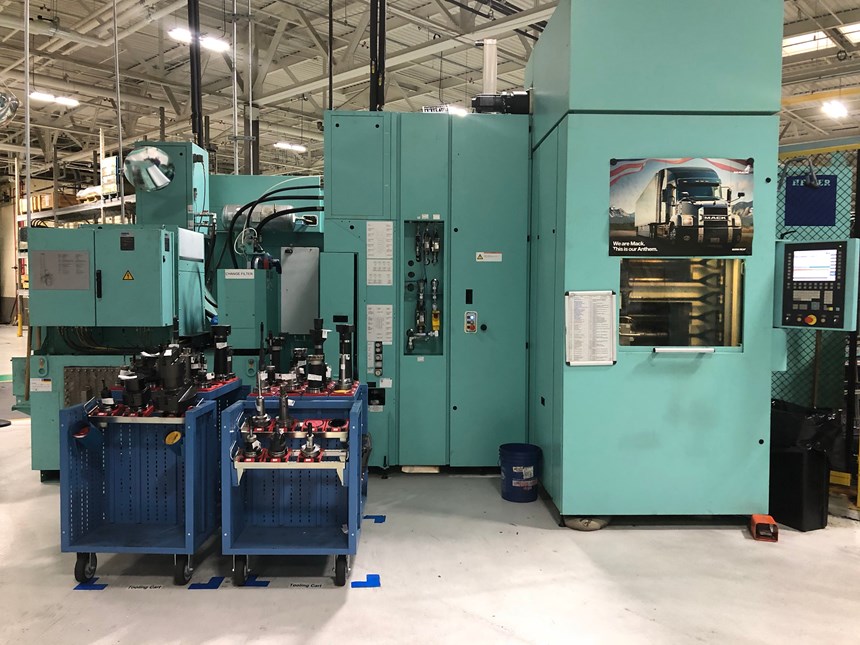
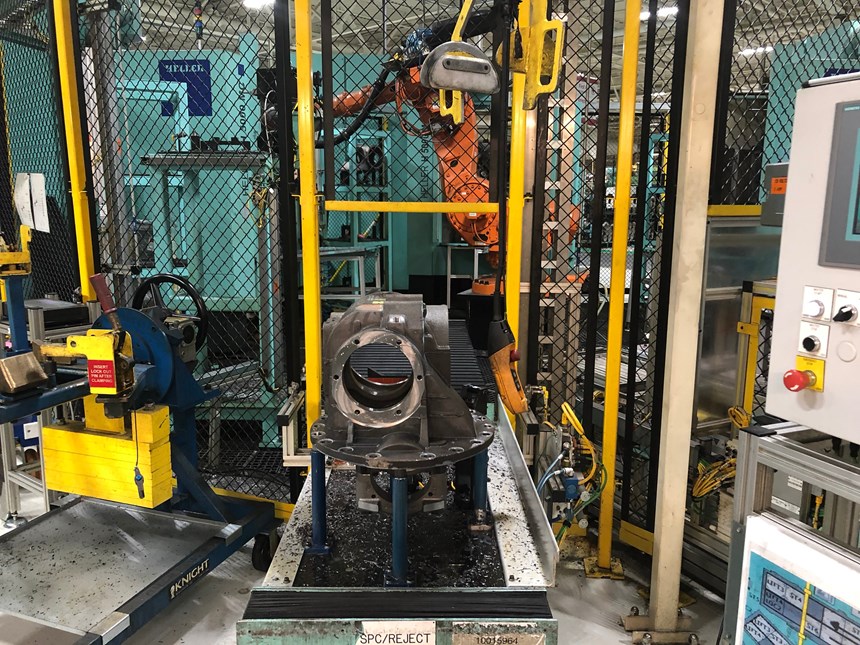
Volvo’s PIP was centered around two different project areas in the axle machining area. The first was a machining cell with three, four-axis Heller H 5000 horizontal machining centers using HSK 100 spindles, 800-by-800-by-800-mm work areas and chip-to-chip times of 4 seconds. Two Okuma 2SP-V60 twin-spindle vertical lathes, each with 2,500-rpm spindles and robotic part-handling capabilities comprised the second cell.
According to Mr. Alexandersson, the objectives of the PIP were to increase equipment effectiveness, reduce scrap and improve tool life, but he admits to some initial skepticism. “To be honest, I figured it would end up being a big sales pitch, so we were all pleasantly surprised to see the depth of Sandvik Coromant’s analyses and recommendations,” he says. “They looked at everything.”
Sandvik Coromant sales engineer Curtis Scott notes that, unlike a typical PIP, in which a Sandvik representative goes onsite for a day or two to work with customers of all sizes to improve a specific problem, this one leveraged lean methodologies to analyze multiple areas of the production floor. “It was like a PIP on steroids,” he says. “Aside from the machining process, we looked at material flow, safety concerns, how the machines and supporting equipment were arranged, the steps the operators went through during their daily work…It was a little bit of everything.”
It might go without saying that Volvo is no newcomer to lean manufacturing. It was not a lack of lean manufacturing knowledge that brought the two companies together, but rather the desire for a fresh set of eyes.
Increasing Throughput on the Horizontal Machining Cell
Together with designated Volvo employees, Sandvik Coromant engineers split into two teams. Those assigned to the horizontal machining cell found that the machine tools and fixtures were easily up to the task of machining the 4140 steel carrier housings assigned to them but recommended replacing a number of the milling cutters.
For example, a special-order slotting cutter’s symmetrical design was causing deflection and the need for increased maintenance to the machine spindle. By switching to a standard CoroMill 331 slotting cutter, process security and part quality were improved while machine loads were lightened, reducing maintenance concerns.
Another special form tool, a 12-insert cutter with a 9- to 12-week lead time was replaced with a CoroMill 390 90-degree shell mill and a CoroMill 495 chamfering cutter, through which cycle times were reduced from 2.87 minutes to just 1.75 minutes.
Similar results were achieved with a 4-inch-diameter CoroMill 745 face mill, which cut cycle time in half to just 1.34 minutes, reduced the number of inserts from 13 to 11 and—since the number of cutting edges went from four per insert to 14—substantially reduced tooling cost per part. Through these tooling changes, cell output was more than doubled.
Stabilizing the Turning Cell
On the Okuma turning cell, casting imperfections made the process for machining rear pinions unpredictable. Operators had to change tools frequently, causing unacceptable downtime. The operations on the twin-spindle lathe were also unbalanced, making Op. 10 a bottleneck while Op. 20 sat idle. Finally, change-over was a time-killer, requiring upward of 6 hours. The team set itself an internal goal of shortened cycle time, improved tool life and a more stable process.
They started by implementing a CoroTurn Prime all-directional turning tool as well as several other multifunction grooving and boring tools to turn the rear pinion. No lengthy reprogramming was required, but because Prime was able to combine roughing and finishing into a single tool, and also cut more effectively than the legacy solution, this change reduced cycle time by more than half.
Shuffling two of the turning operations and moving to a special-order Coromant drill with back-chamfer capabilities shaved another 1.5 minutes off the cycle time while making the entire turning process more predictable.
Continually Improving
Those improvements were significant in and of themselves, but the two teams went on to make several other improvement suggestions:
- Value-stream mapping on the Heller cell determined that a simple change to the way raw material was loaded on the pallet pool would increase output. Ironically, the change required that every other fixture location be left empty, which ultimately made material handling easier.
- By poke-yoking an inspection fixture, production delays due to improperly loaded parts could be avoided and operator frustration reduced.
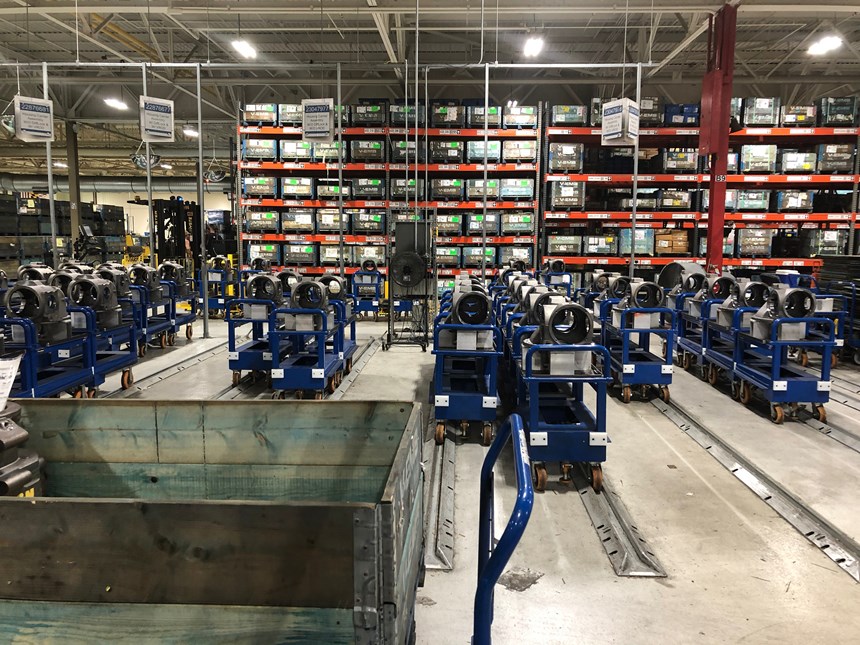
- Expanding the offloading area and increasing the number of material-handling carts would make it easier to meet daily demand. This would also help eliminate problems with open floor space being turned into storage location for random items.
- By staggering lunch breaks and increasing machine downtime visibility with an Andon system, machine overall equipment effectiveness could be further improved.
- The installation of quick-change modular tooling promised to not only improve setup times but make in-process tool changes faster and easier on the operator.
A year later, Mr. Alexandersson reports that he and his crew have implemented many of Sandvik Coromant’s recommendations. “The biggest improvement probably came from the Okuma cell, where we’ve reduced change-over to about 2 hours. We took the ball and ran with it after that, and now have a full-blown single-minute exchange of dies (SMED) program implemented in several of the production areas.” One of these was the camshaft machining department: “We videotaped operators, broke the entire manufacturing process down into smaller segments and designed a system for quicker change-over based on what we learned. The use of modular, quick-change cutting tools has been another great journey, and has also helped to reduce setup time—oftentimes from 6 hours to just 1 or 2. Overall, a lot of good things have come out of this, so much so that we’re talking about trying it at some of our other facilities.”
Related Content
Quick-Change Tool Heads Reduce Setup on Swiss-Type Turning Centers
This new quick-change tooling system enables shops to get more production from their Swiss turning centers through reduced tool setup time and matches the performance of a solid tool.
Read MoreHow to Successfully Adopt Five-Axis Machining
While there are many changes to adopt when moving to five-axis, they all compliment the overall goal of better parts through less operations.
Read MoreLean Approach to Automated Machine Tending Delivers Quicker Paths to Success
Almost any shop can automate at least some of its production, even in low-volume, high-mix applications. The key to getting started is finding the simplest solutions that fit your requirements. It helps to work with an automation partner that understands your needs.
Read MoreThe Future of High Feed Milling in Modern Manufacturing
Achieve higher metal removal rates and enhanced predictability with ISCAR’s advanced high-feed milling tools — optimized for today’s competitive global market.
Read MoreRead Next
Registration Now Open for the Precision Machining Technology Show (PMTS) 2025
The precision machining industry’s premier event returns to Cleveland, OH, April 1-3.
Read More5 Rules of Thumb for Buying CNC Machine Tools
Use these tips to carefully plan your machine tool purchases and to avoid regretting your decision later.
Read MoreSetting Up the Building Blocks for a Digital Factory
Woodward Inc. spent over a year developing an API to connect machines to its digital factory. Caron Engineering’s MiConnect has cut most of this process while also granting the shop greater access to machine information.
Read More


.jpg;maxWidth=300;quality=90)

