Measurement
MMS Looks Back: 1940s - How They Rolled During World War II
What has changed in roller bearing manufacturing? The Timken Company and Modern Machine Shop reunite to explore the topic we covered 75 years ago. This story is part of our 90th anniversary series.
Read MoreMarposs Website Redesign Facilitates Information Access
Marposs has redesigned its website to adapt to computer, tablet and mobile phone screen sizes.
Read MoreHexagon Acquires Industrial Measurement Company
Hexagon AB announces the acquisition of NextSense, a company specializing in non-profile measurement and surface inspection.
Read MoreWhen to use Split-Laser, On-Machine Tool Measurement Probes
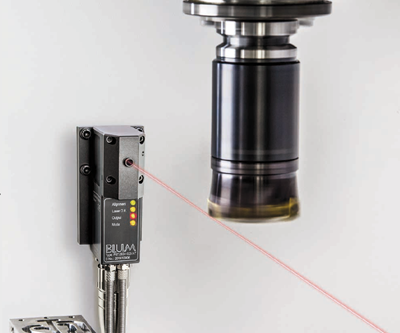
There is value in using compact, on-machine laser probes to automatically measure cutting tools and detect broken tools. However, for some applications, a larger split-laser system is needed.
Read MoreReverse Engineering: A Basic How-To
An inspection specialist imparts principles for successfully going about the reverse engineering process with 3D scanning equipment.
Read MoreOptics System Clears Up Uncertainty in Shaft Measurement
Quality Vision International’s TurnCheck system addresses sources of uncertainty in shaft measurement by focusing on advanced optics, thermal stability and ease of use.
Read MoreMahr Partners with University of Rhode Island
Mahr has partnered with the University of Rhode Island to offer seniors a chance to address engineering problems in a professional setting.
Read MoreQuality Vision International Expands Facilities
After expanding its assembly building, South machine shop and customer center showroom, Quality Vision International has broken ground on a new manufacturing building.
Read MoreVisual Tool Setters Simplify Measuring Cycle, Increase Speed
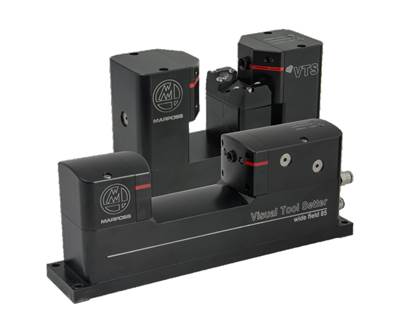
Marposs expands its Mida VTS visual tool setter family with the addition of the VTS WF45 and WF85 wide field versions.
Read MoreManufacturing News of Note: May 2018
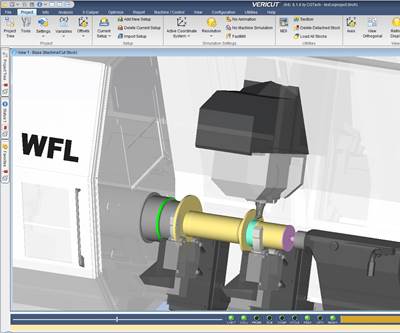
Mahr to offer confocal microscopes, CGTech joins an R&D outfit and other industry news.
Read More







.jpg;maxWidth=300;quality=90)


