Published
New Idea in Shopfloor Gaging
In many manufacturing facilities, production measurement and programmable measurement are two separate things. Read how one company’s new product represents a new idea in gaging.
Share


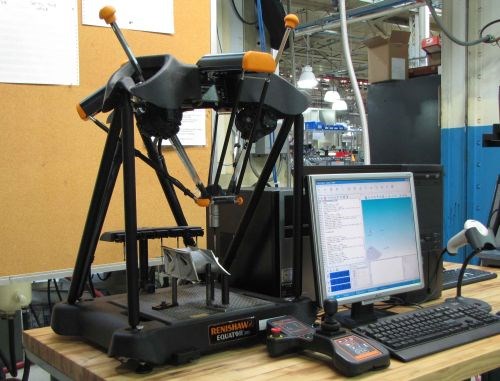
In many manufacturing facilities, production measurement and programmable measurement are two separate things. Dedicated hard gages do the fast inspection on the production floor, while programmable CMMs perform accurate and traceable inspection in a distant temperature-controlled room. For these facilities, Renishaw has a new gaging product that also represents a new idea in gaging.
The company’s “Equator” measurement system uses a programmable inspection device that sits on the shop floor near the machine tool. A parallel kinematic structure makes the device both stiff and lightweight. The version of the software used on the shop floor permits easy, pushbutton gaging. This system doesn’t take the place of the environment-controlled CMM, but instead extends the reach of that CMM’s accuracy out into production. It does this by rapidly comparing its measurement of a production part to its measurement of a master part that has been CMM inspected. Traceability is established in this way. If the master is the same size and material as the measured part, then shopfloor temperature will not affect accuracy. That’s because both master and workpiece will expand or contract to the same extent, nullifying the effect of temperature from the comparison.
A company making jet engine components is already using the Equator approach to gaging in order to avoid hard gaging costs. Read more detail here. Also, a video produced by Renishaw demonstrates how the Equator is used.


