Share


For many manufacturers, robotic automation enables them to redeploy employees who previously performed repetitive, mundane tasks (such as loading/unloading machine tools) to execute duties of higher value.
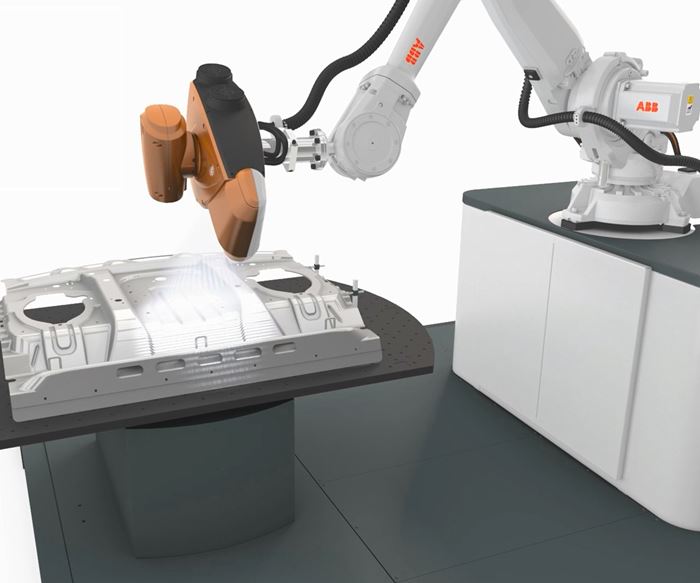
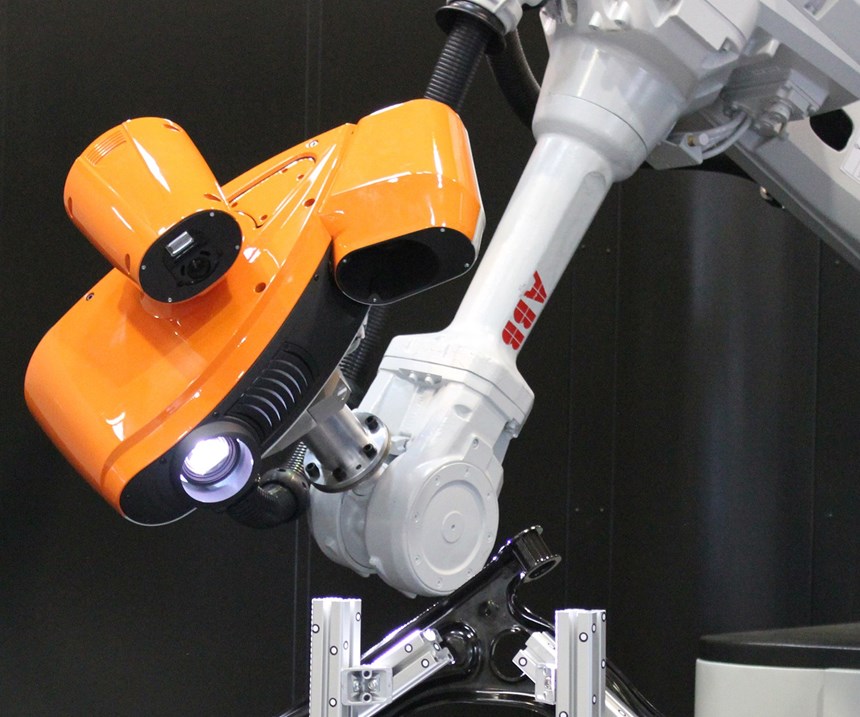
To automate part inspection, ABB Robotics has developed its Robotic Inspection System consisting of a 3D white-light scanning sensor mounted to the arm of its IRB 4600 industrial robot, using the robot’s multi-axis agility to enable the sensor to access various part features from the optimal angles. The sensor technology rapidly records and details geometric and surface data to compare that with a CAD model of the part being inspected.
This turnkey inspection and quality control system is well-suited for automotive OEMs, aerospace companies and operations serving various other industries. It was developed through a collaboration between ABB and NUB3D, a company that specializes in 3D measurement technology, including 3D scanners and software. (ABB purchased NUB3D in February 2017.)
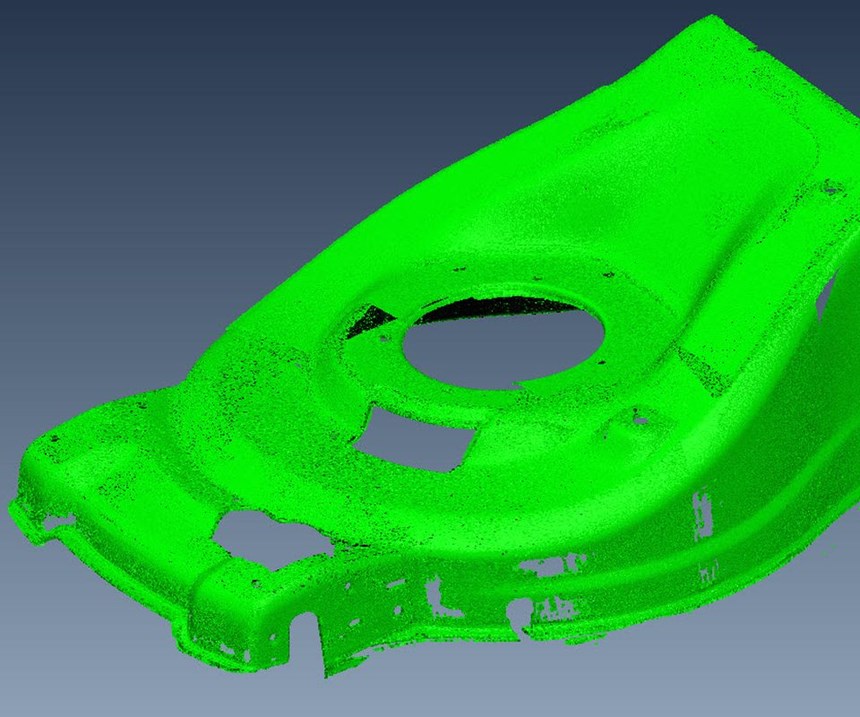
With structured white-light technology, every shot taken provides 1.5 and 5 million points for Sidio Lite and Sidio Airus sensors, respectively. The system uses this data to generate a point cloud that is then compared to a part’s CAD model to assess the quality of the part. ABB says the sensor’s high speed, repeatability and micron-level accuracy is independent of the robot’s accuracy and repeatability.
The company says a benefit of the high accuracy is earlier detection of component degradation. When components start to degrade dimensionally over time or small imperfections start to appear, they will be detected earlier with the Robotic Inspection System compared to other technologies that might allow a part to pass inspection. Early detection means process changes can be made sooner to prevent defective components from reaching the market.
Although this system offers high accuracy, the company says it also well-suited for more mundane inspection tasks, such as ensuring components of an assembly will fit together properly. In addition, the system offers the flexibility to accommodate greater product variation and small lot sizes.
Related Content
-
4 Ways to Establish Machine Accuracy
Understanding all the things that contribute to a machine’s full potential accuracy will inform what to prioritize when fine-tuning the machine.
-
Parts and Programs: Setup for Success
Tips for program and work setups that can simplify adjustments and troubleshooting.
-
Orthopedic Event Discusses Manufacturing Strategies
At the seminar, representatives from multiple companies discussed strategies for making orthopedic devices accurately and efficiently.


