Measurement
Moving Parts, Moving Data, Keeping People
This Plant's labor-saving automation includes hardware for updating CNC offsets to adjust for gradual process changes. When the plant adopted its automated system, management thought carefully about the impact on staffing.
Read MoreUsing The Machine Tool As A Gage
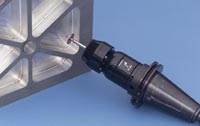
On-machine inspection probing keeps jet engine production flying.
Read MoreSliced Bread—And The Limits Of Air Gaging
"Air gaging is the greatest thing since sliced bread," a friend once said. And he was right—air gaging is good.
Read MoreAutomotive OEM Employs Shopfloor CMMs To Improve Process Control
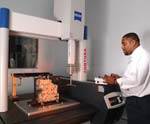
GM expects first-time quality from transmissions manufactured at this major manufacturer, which are shipped directly to the GM assembly line. There are no incoming quality checks or receiving inspection routines.
Read MoreCMM Locks In Inspection And Productivity
This company, established more than 140 years ago, manufactures a high volume of brass padlocks annually. They are made on two large rotary transfer machines with drilling capabilities. The company is also doing reverse engineering for tooling purposes for other machines it uses in its manufacturing and assembly departments.
Read MoreTight Tolerances And Trial Runs
This contract shop is committed to difficult jobs. The shop often takes on a job without knowing how the part will be made.
Read More


.jpg;maxWidth=300;quality=90)

