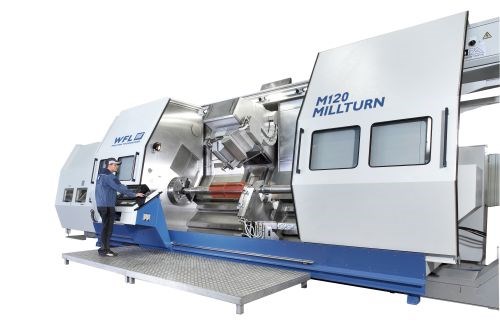
There’s Value in Probing on Turn-Mills
Part probing isn’t performed as often on turn-mills as it is on conventional machine tools, WFL says.
Share


.png;maxWidth=45)
DMG MORI - Cincinnati
Featured Content
View More


Hwacheon Machinery America, Inc.
Featured Content
View More
Part probing isn’t performed as often on turn-mills as it is on conventional machine tools, WFL says. It does offer advantages for multitasking machines, though. Machines like the big M120 Millturn are attractive because they can carry out all the operations such as turning journals, milling gears, drilling holes, broaching internal splines and hobbing external splines to complete complex parts.
But what about when a part such as a shaft with gear teeth must be hardened? Roughing operations are commonly performed prior to heat treating rather than having the turn-mill (or “millturn” as WFL refers to it) machine the entire workpiece in a hardened state. The workpiece must then be finish-machined after it’s hardened. Although heat treating brings the workpiece to the specified hardness, it oftentimes also “bananas” the shaft a bit. As a result, the part must be carefully measured once it’s reinstalled in the machine so that the program can be tweaked to compensate for the twisting distortion.
Manual measurement combined with subsequent program adjustments can take many hours for parts like complex shafts. However, WFL has developed canned probing cycles for its machines to automatically measure such parts and update the NC code for the finishing operations. For a shaft with gear teeth, a touch probe measures specific points on the gear teeth. In doing so, the gear’s pitch diameter is determined as is the true position of the gear centerline. The true position of the gear centerline is really what’s important. That’s because the machining code is automatically updated so all shaft features are machined to the gear’s true (measured) centerline, not the machine’s centerline. This ensures precise feature-to-feature accuracy after finish machining.


.png;maxWidth=150)


