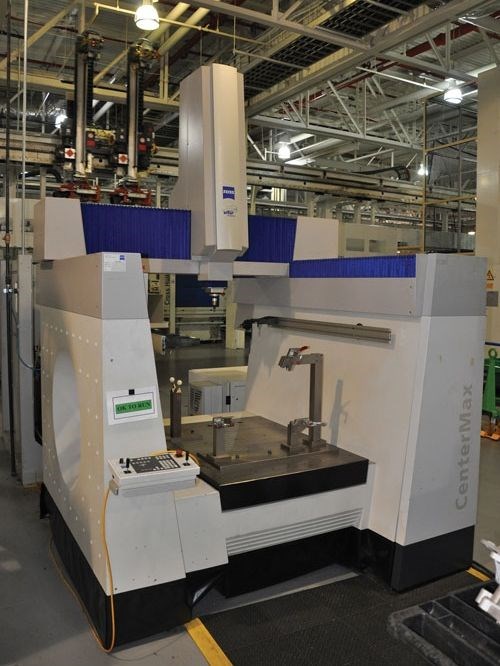
Shopfloor CMM technology has come a long way in recent years.
Many shops invest heavily in CNC machine tools. The implementation of new metrology strategies tends to happen more slowly, though. As a result, part inspection can remain a throughput bottleneck.
Does this sound familiar? After completing a workpiece, an operator ventures away from his/her machine to the quality lab so that a CMM inspector can perform first-article or other measurement routines beyond what the operator’s conventional hand gages can support. In some instances, the operator has to wait for the lab’s CMM to become available, too. Finally, if inspection shows that the part is out of specification, the operator has to return to the machine, make necessary adjustments, create a new part and jump back into the CMM queue to await another inspection routine. During all this time, of course, the machine isn’t making parts.
If this currently happens under your roof, perhaps it’s time to switch things up by bringing CMM measurement capability to your machine operators.
Shopfloor CMM technology has advanced a great deal over the years such that highly accurate measurements can be attained without an enclosure. That’s largely because today’s devices combine hardware and software elements to cancel out the influence of a facility’s fluctuating ambient temperature. They’ve also become easier to operate and are available in a variety of styles. Some even offer the mobility to be moved to other machines.
Of course, hurdles related to comfortable practices and conventional thinking often must be overcome. Machine operators, who feel secure using hand gages, need to become just as comfortable operating a more advanced measurement device. Plus, management might have to be convinced that the benefit of a more efficient operator is worth the cost of advanced shopfloor inspection devices.
If you’ve been considering shopfloor CMMs, I suggest visiting our Inspection and Measurement Zone. There, you’ll find articles and equipment write-ups as well as an expert team to which you can send specific questions about CMM inspection.
Related Content
-
At the seminar, representatives from multiple companies discussed strategies for making orthopedic devices accurately and efficiently.
-
Ever since inventing the touch-trigger probe in 1972, Sir David McMurtry and his company Renishaw have been focused on achieving process control over its own manufacturing operations. That journey has had sweeping consequences for manufacturing at large.
-
Thanks to ballbar testing with a Renishaw QC20-W, the Autodesk Technology Centers now have more confidence in their machine tools.