Part of the assessment process when buying a machine tool is making sure its positioning accuracy is good enough to meet the requirements of the parts it will make. Machinists rely on consistent accuracy throughout the machine’s volume to produce parts to print. However, no matter how the machine tool is designed or manufactured, its accuracy may change over time and should periodically be verified and corrected.
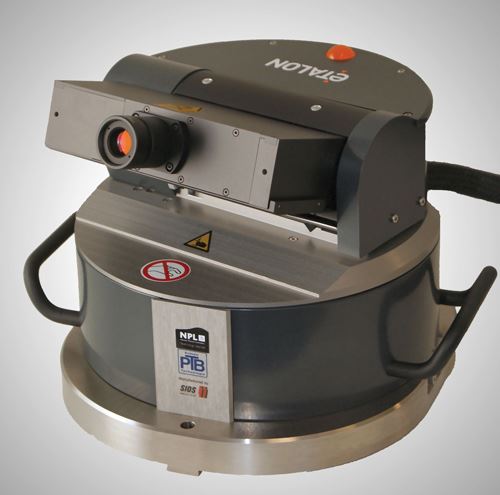
Ordinary maintenance procedures can determine whether the straightness and some rotational errors of travel have changed in any of the axes. These procedures sometimes involve using a laser interferometer in order to get the precision necessary to determine even very small errors in motion. Although this information can be very valuable, the time and expense required to obtain it (and correct it effectively) can be hindrances. A device called the LaserTRACER, which was developed by Etalon AG in Germany and is available from Optical Gaging Products, Inc. (OGP) of Rochester, New York, is designed to make it simpler and faster to measure and compensate for changes in accuracy throughout a machine’s volume. For example, the interferometer can be aligned with machine axes automatically. Likewise, it can automatically calculate the correction file for download into the error compensation capabilities of today’s generation of machine tool controllers. This file allows the controller to adjust for those errors and correct the machine positioning. According to developers, using this device and applying error compensation can improve the machine’s original accuracy.
Experts at OGP offer this simplified background. Geometric errors in the working volume of a machine tool come from the combined errors of each individual axis. The errors of each linear axis have six components: the position error in the direction of the axis movement, two straightness errors perpendicular to the direction of movement, and three rotational movements: pitch, roll, and yaw. Three linear axes have these errors, along with constant squareness errors between the axes, for a total of 21 degrees of freedom.
An increasing number of machine tool control systems can apply 3D error compensation to correct motion errors that are known and repeating, thereby improving the machine’s positioning accuracy throughout its volume. With that correction, geometric positioning errors in the machine tool are no longer a cause for the geometry of manufactured parts to be out of tolerance.
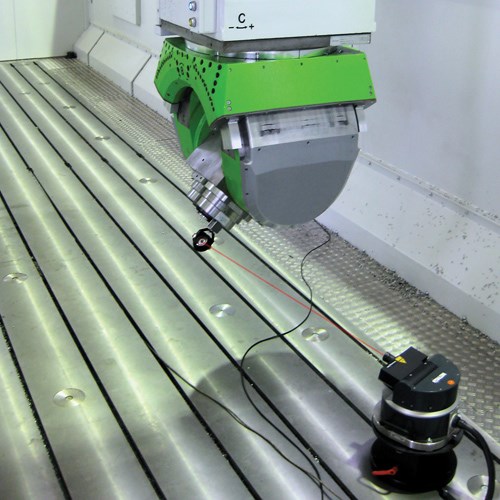
The LaserTRACER is a measuring instrument for determining geometric machine errors. Its core component is a laser interferometer with nanometer-level resolution. Unlike traditional distance measuring interferometers that require accurate alignment of the laser and a retroreflector, this device automatically follows a reflector mounted in the tooling chuck as it moves.
Developers say that although traditional tracking interferometers have similar measurement resolution, they are susceptible to air turbulence and thermal gradients when measuring 3D positions using angular measurements. In contrast, the new device measures only straight line distances, similar to a global positioning system (GPS), and uses multilateration (hyperbolic positioning) to accurately determine 3D location.
NC programs generated by the associated Etalon Trac-Cal software move the machine tool through a sequence of positions in the machine’s volume. At each pre-determined position, the machine pauses for 1 or 2 seconds to allow the device to capture measurements automatically. Each measurement sequence usually takes between 10 and 20 minutes. The compact device is manually repositioned for three to five similar sequences. Total calibration of a medium-size machine typically takes between 1 and 3 hours. The system’s software calculates the parametric errors of all axes based on the interferometer readings, thus providing volumetric compensation data for most controller and machine types.
This device is expected to appeal to both the machine manufacturer and the user concerned about a machine’s volumetric positioning accuracy. Short measuring time and simple handling make it especially attractive to users interested in reducing machine maintenance time. The device’s sub-micron accuracy makes it appropriate for machines of the highest accuracy, developers say. The ability to calibrate rotary axes makes the device suitable for four- and five-axis machines as well as simpler machine types.
For a whitepaper from OGP that explains and documents the concept of recording geometric
machine errors with a laser-based tracking system, click here.


.jpg;maxWidth=300;quality=90)


