To remain competitive, high-end manufacturing companies in Europe are looking for accurate and reliable machine tools offering fast changeover, programming and setup. Industrial robot technology could provide an excellent platform for machining given its flexibility and affordability.
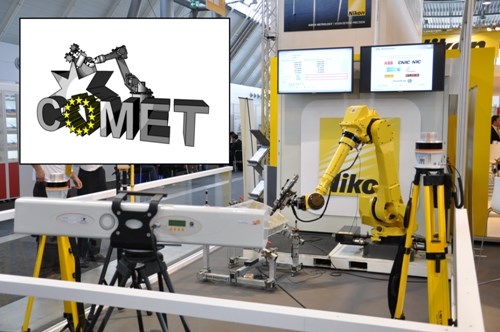
Combined with enabling metrology solutions, industrial robots offer distinct advantages over expensive specialty equipment designed for specific machining tasks. As part of the COMET project (a European consortium devoted to COmponents and METhods for adaptive control of industrial robots), Nikon Metrology helped to develop an adaptive tracking system. This system adjusts real-time robot arm positioning in relation to where it should be according to the initial programmed robot path.
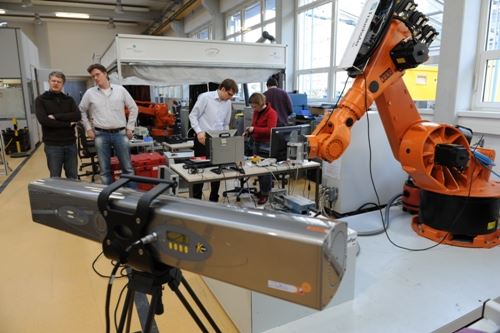
The adaptive tracking system tracks the location of the robot head in real time, and feeds back the metrology data via a closed loop to the control. This metrology-adjusted process improves robot accuracy because it nearly eliminates the influence of robot warm-up, drift and backlash. The system offers a means of transforming industrial robots into precision tools for milling, deburring and other machining applications.
The adaptive tracking system module consists of two components: the tracking system and the comparison and path adaptation module. Based on specific project needs, the tracking system research will start with the K-Series Optical CMM from Nikon Metrology.
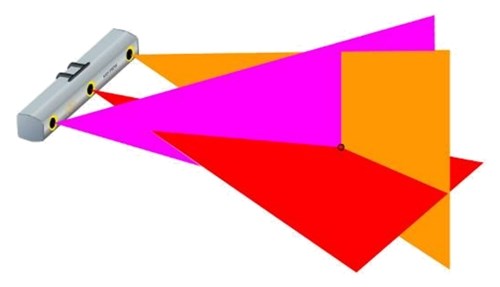
K-series’ pre-calibrated solid state camera system consists of 3 linear built-in charge-coupled-device (CCD) cameras. With cylindrical lenses on all cameras and the middle camera tilted 90 degrees, the optical CMM measures the locations of infra-red LEDs mounted on the robot head. As an LED is located where the 3 CCD observatory planes intersect at the instance of capture, the system is able to determine the point coordinates based on the plane inclination angles. The K-Series system offers the means to track multiple LEDs simultaneously with 6 degrees of freedom at a sample rate up to 1,000 Hz to allow for dynamic measurements.
The module for the corrective adaptation continuously compares the measured position, speed and acceleration with the corresponding data in the part program. A model-based algorithm will then decide when and how to adjust robot operation to meet the accuracy required by the machining process. Development efforts from Nikon Metrology engineers concentrate on measuring accuracy, system latency and module interfacing in order to obtain precise and prompt robot motion adaptations.
The 30-month COMET project was kicked off in September 2010. After completing the COMET robot controller, Nikon Metrology will act as a partner in exploiting the project results. The project involves 14 technical partners from 8 countries across Europe, coordinated by UK-based manufacturing software specialist Delcam. For more news and regular updates, see www.comet-project.eu.
Acknowledgment: The work reported in this paper is supported by EC FP7 Research Project COMET "Plug-and-produce components and methods for adaptive control of industrial robots enabling cost effective, high precision manufacturing in factories of the future" (FoF.NMP.2010-1-258769).
Related Content
-
While there are many changes to adopt when moving to five-axis, they all compliment the overall goal of better parts through less operations.
-
Determining the currently active work offset number is practical when the program zero point is changing between workpieces in a production run.
-
If you want to streamline production and be competitive in the industry, you will need far more than a standard three-axis CNC mill or two-axis CNC lathe and a few measuring tools.


.jpg;maxWidth=300;quality=90)
