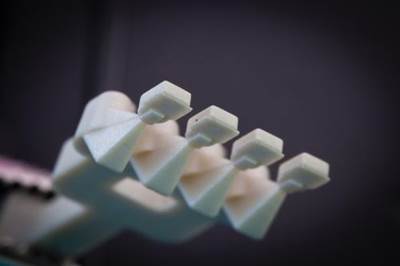
Matrix Tooling makes injection molds for components that have features you cannot see. Not with the unassisted eye, at least.
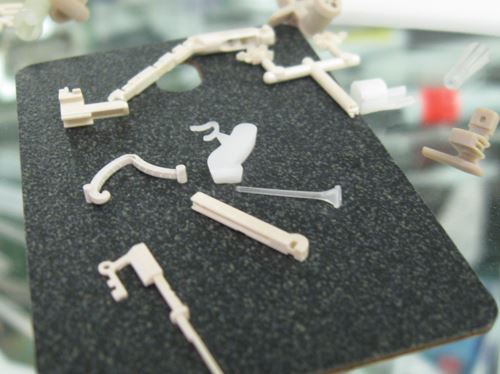
The features are there. You can find them under a microscope or on a CAD rendering of the mold. It’s just that when you hold the molded part on your fingertip and squint at it, all you see is a spec shaped like a flute or comma, with no particular defining details. It comes as a surprise to learn that the actual part has details held to tolerances of ten-thousandths of an inch.
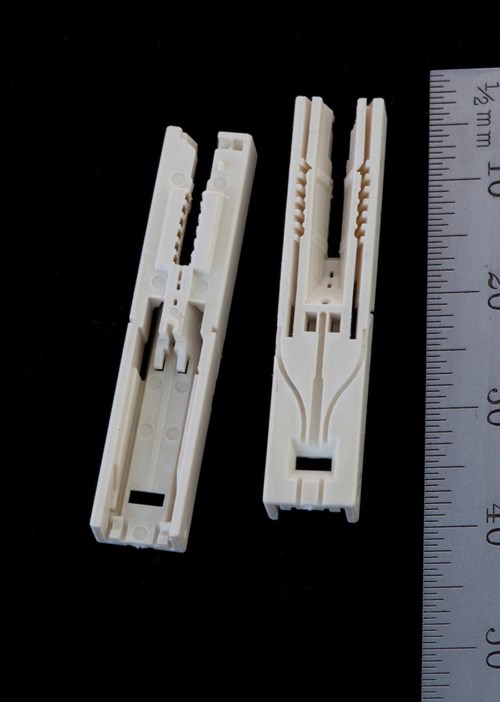
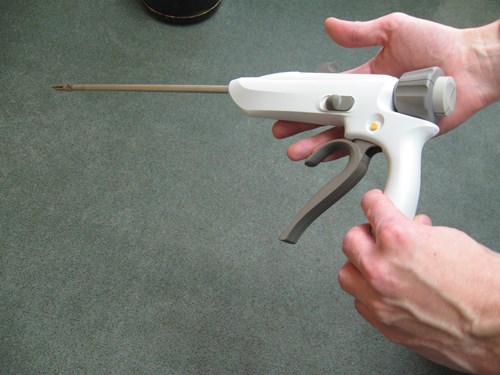
Matrix never set out to be a specialist in miniature mold making. The Wood Dale, Illinois mold supplier makes tooling for plastic parts of various sizes. However, the shop’s pursuit of business in the medical field (the shop is certified to ISO 13485, the standard for medical devices) has led to work that keeps getting progressively smaller. In fact, the shop’s own success fuels this progression. A device allowing surgeons to apply staples to artery grafts illustrates this. The shop made molds for the mechanical components of a version of this device in which the staples measured 0.010 inch in diameter. When the shop showed it could make the tooling required for this device without taxing the limits of the shop’s precision, the customer realized it could remake the device to deliver a staple that was even less intrusive. Now, Matrix makes molds for a newer version of the device that delivers staples 0.004 inch in diameter.
How Matrix produces molds for such tiny components is worth examining, because the shop does not use any equipment created specifically with micro-size machining in mind. The same machine tools that machine microscopic mold features produce standard-size features as well. Instead, the key to micromachining at Matrix Tooling is systemization—attention to every detail of the big picture. Step by step, Matrix has controlled and tightened sources of dimensional variation in its machining process. When the error margin can be reduced at every step, the precision of the overall process gets tighter. Make all of the error margins tight enough, and the process can be trusted to produce tiny features reliably.
Ironically, the one capability that has proven to be relevant specifically to micro-sized machining does not directly involve machining at all. Investing in in-house plastic molding capability extends the shop’s range of services, while at the same time allowing the shop to validate the performance of fine-detail mold tooling in the most important way—that is, by ensuring that the final molded part realizes the tolerances required.
EDM’s Effectiveness
Given the shop’s determination to control error sources, it might be surprising to learn that Matrix relies extensively on ram EDM. Ram EDM involves multiple machining steps—milling an electrode then making the burn. Therefore, it also involves multiple setups and multiple opportunities for variation. Directly milling the part would seem to be simpler and more precise. Why doesn’t the shop perform hard milling on its micro-size molds?
Matrix vice president of manufacturing James Ziegenhorn says hard milling is not necessarily suitable for micromachining. At least, hard milling is not suited to the types of tiny molds that Matrix is asked to produce. The reason comes down to tool deflection, he says. Molds appropriate for hard milling often feature swept, contoured, aesthetic forms for which a slight shift in dimensional positioning is insignificant. By contrast, a mold for a component that aims tiny staples into blood vessels might need wall straightness accurate to within 200 millionths of an inch in order for the device to function reliably.
“On our small molds, a draft angle of half a degree is a lot,” Mr. Ziegenhorn says. A cutting tool with a large length-to-diameter ratio is prone to deflect too much to achieve this kind of straightness. Such a high L:D ratio can result from the tool’s length or (more likely for Matrix) from the tool’s small diameter. EDM, which replaces a slender tool with a precise and rigid electrode, avoids this problem. To overcome any error stack-up resulting from the need to both burn and mill, the shop says the key is to use a precise electrode holding system across both types of machines.
Process Control
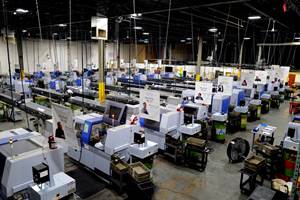
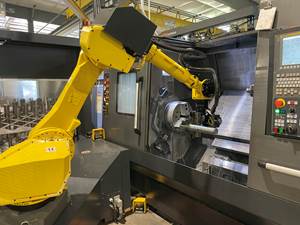
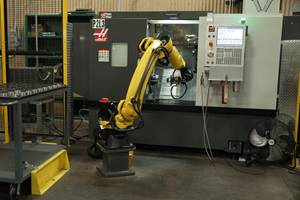
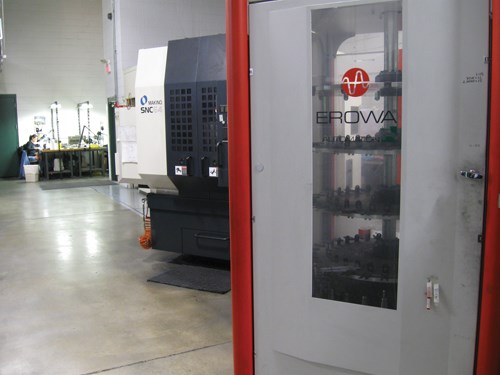
Electrode milling and ram EDM are both performed in automated cells at Matrix. One cell has an
Erowa loader feeding
Makino SNC 64 electrode machining centers, while in another cell, the same type of automation loads electrodes into Makino EDNC 43 ram EDM machines. Matrix originally installed this automation as a way to improve productivity by allowing these machines to run through evenings and weekends. However, the same system improves setup repeatability as well, because electrodes now remain fixtured from the milling machine to the EDM machine. Repeatable clamping units on each machine ensure that the electrodes move from milling to EDM with as little error as if the two operations occurred in a single step.
This precision is just one link in a long chain, Mr. Ziegenhorn says. Because the process is only as precise as its least precise element, achieving reliable micromachining has come from examining every element of the process to reduce its variability. Other aspects that are just as important as the electrode clamping include:
1. Machine tool accuracy. The shop chose the machines it did with precision in mind.
2. Toolpath reliability. The shop uses NX CAM from Siemens PLM Software. Mr. Ziegenhorn says this software’s value to the shop is found in what it doesn’t do. Toolpath errors that might be tiny at large part sizes would be detrimental to the small molds. The software avoids making minute departures from the intended path.
3. Fine-grain graphite. EDM-3 graphite from Poco Graphite is strong enough to machine into small and slender forms, the shop says. For micromachining, the shop prefers graphite over copper not in spite of graphite’s fragility, but because of this. When mishandled, a tiny graphite electrode will break instead of bend. This is good, because a bent copper electrode might still proceed to machining, producing a mold that would have to be scrapped.
4. Frequent milling tool changes. Graphite is easy to machine, but abrasive. Long before the milling tool reaches the end of its advertised life in graphite, the cutting edge becomes dull enough to produce inconsistencies in electrodes that ought to be identical, Mr. Ziegenhorn says. Matrix replaces milling tools far more often than any tool catalog would suggest.
5. Frequent electrode changes. Something similar is true of electrodes. Tiny electrodes require the shop to use low power settings, and this results in fast electrode wear. Thus, the shop has to machine more electrodes for a tiny mold than it would for a standard-size mold. A given micromachined cavity might require six to eight of the same electrode before the component is done.
Molding to Measure
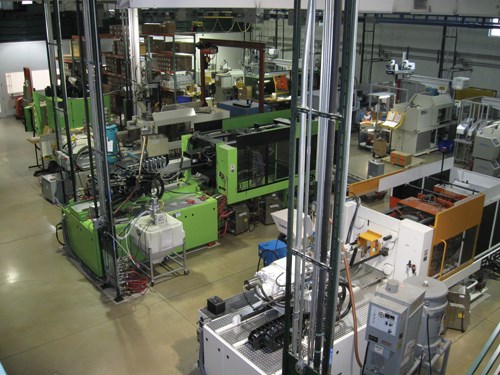
When the mold is complete, the process still isn’t finished. The mold goes to Matrix’s injection molding area adjacent to the machining area. The advantage of in-house molding is that it spares any finger-pointing between molder and mold shop. Matrix is willing to point its finger at itself.
For micro-size molds, this in-house molding also provides quality assurance. While measuring a finished mold is useful, the measurement is inconclusive at scales so small that the peculiarity of the resin’s behavior might cause the molded part to break spec. Thus, the micro-molding step is where Matrix might learn that a given mold needs another thousandth or so shaved off a particular surface, or (in rare cases) that the mold needs to be redesigned altogether. The engineering challenge of making a critical mold is not any less when the scale of the project is small, and in many cases the challenge is greater.
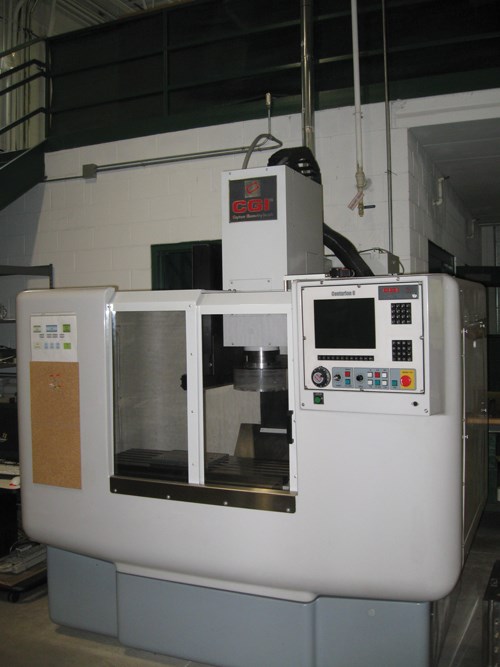
Perhaps the most unusual piece of equipment in the shop relates to measuring these tiny plastic parts. Measuring internal features of micromolded parts is difficult, because cutting into the part would likely distort it beyond any ability to measure. Therefore, the shop cuts into the tiny parts in a highly controlled way. Matrix QA personnel suspend molded parts in epoxy and allow this epoxy to harden. Then, they mill away the epoxy and part together in layers that are perhaps 0.001 or 0.002 inch at a time.
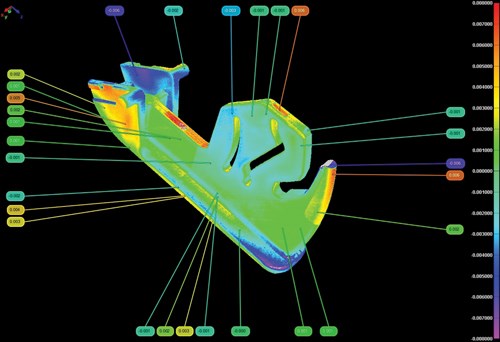
A cross-sectional scanning machine from CGI (Capture Geometry Internally) was developed for just this purpose. By taking an image of the part at each layer that it machines, the scanner obtains the data for a 3D model that permits a detailed inspection. These dimensional data sets for miniature molded parts have been so valuable to Matrix’s customers that the shop is considering advancing its inspection capabilities even further. To continue to serve the medical industry, Matrix is evaluating adding CT scanning for part inspection—that is, measuring medical parts with the same technology that physicians use for their own internal measurements.





.jpg;maxWidth=300;quality=90)


